This article will teach you how to create various types of inexpensive DIY owl houses on your own. The nest boxes are inexpensive, quick, and simple to create. To provide you the greatest owl home possible, the DIY owl house ideas have been carefully chosen. Examine each of the designs, then start luring owls to your tidy box.
How To Build An Owl House That Attracts Them
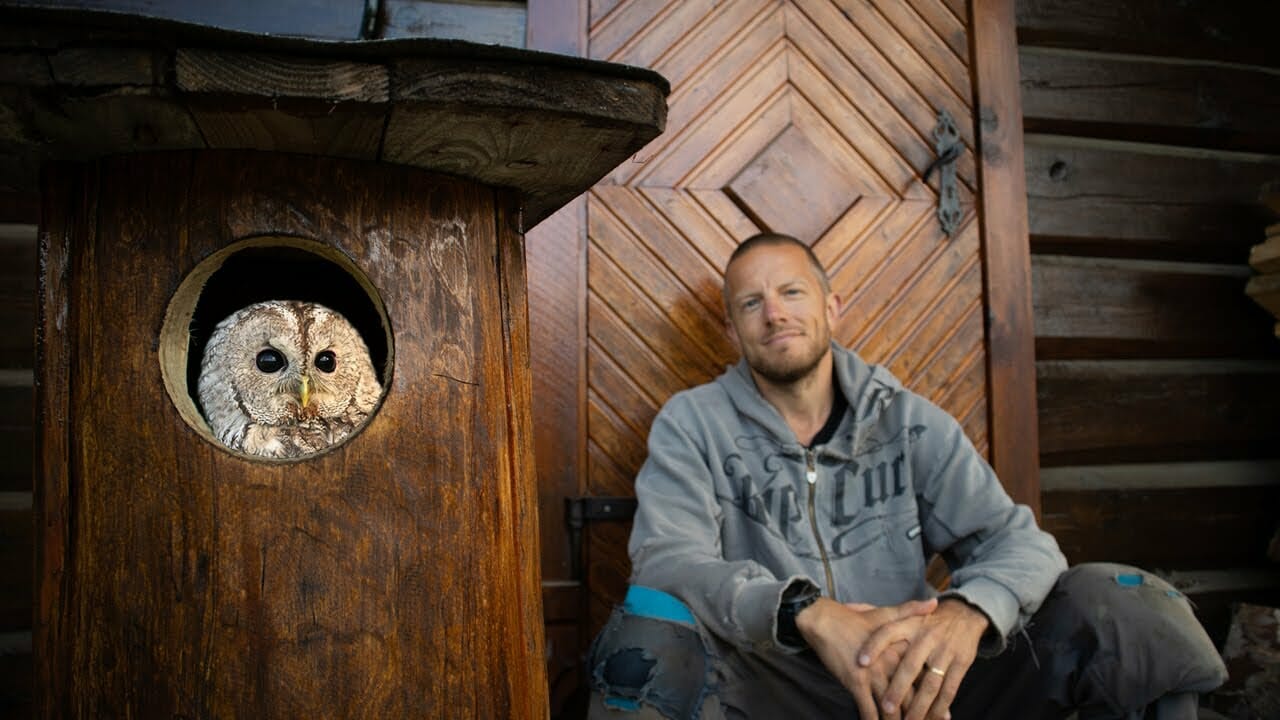
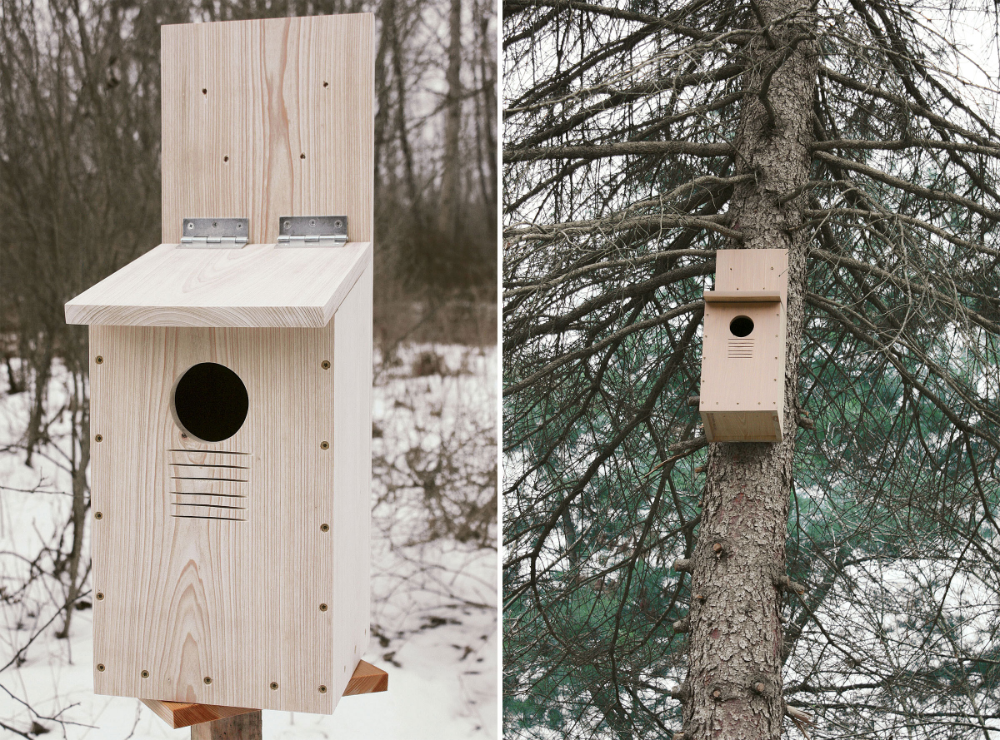
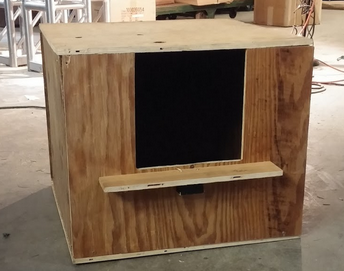
This article does not just focus on the stages of creating an owl home but on how to build the house to really attract the owls. The teacher utilized a box with the following measurements: 30 cm deep, 30 cm broad, and 60 cm long. When the box is finished, he hangs it from a tree that is 5 cm tall.
DIY Owl House Plans
Most people adore owls. They may be quite lively and are adorable and harmless. It’s exciting to consider having a wild animal within your home. It’s quite the adventure to build an owl house. Although owl houses have been around for millennia, they are not designed to be a permanent home for birds as the other types of birdhouses are. Instead, they are intended to draw owls and other predators that eat insects and tiny rodents like rats, mice, and voles, rather than other animals.
In essence, an owl home is a box constructed of wood or plastic with a hole cut out for the entry. It is installed to a post or tree trunk by utilizing a mounting bracket or with nails. You may either purchase a pre-made owl house or construct one at home if you want to manufacture one. Use this step-by-step tutorial to learn how to create your own owl house plans.
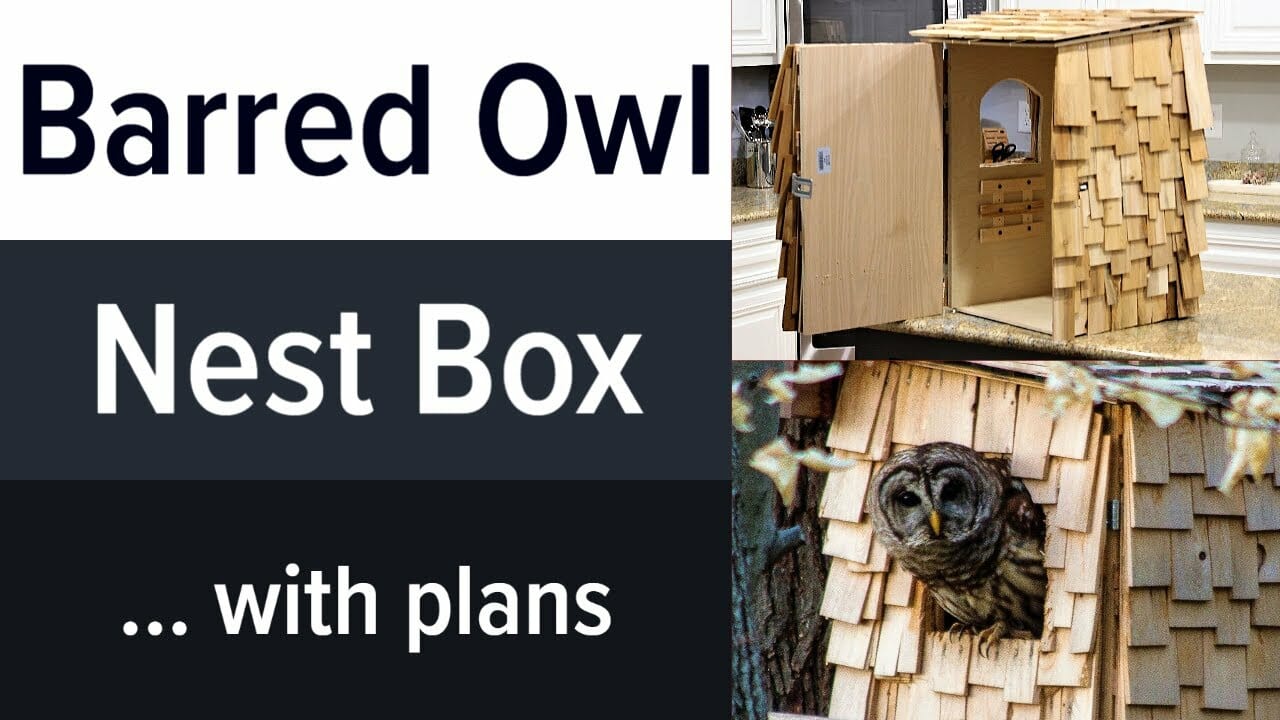
Barred Owl Box
The eastern and northwest parts of the United States are home to the barred owl. There are no feather tufts on the head of this owl, which might be brown or gray in color. Large, wide spaces are preferred by barred owls because they provide ample room for nesting, breeding, and hunting.
Look for a spot with lots of trees where you can put your barred owl box, but make sure the tree where it will go is open so the owls can get to it easily. In addition, it must be near a water supply, which must be no further than 200 feet away.
The hatchlings might fall out of the box and drown, or the owl droppings could contaminate the water if the box is placed on a tree right next to a water source. A barred owl box should also be placed at least 100 feet away from your house since human activity might scare off these animals.
Softwoods like pine or cider may be used to make barred owl boxes with relative ease. However, to provide the birds with a grasping surface, think of using wood stock rough-cuts on both the inside and outside.
Make sure you have assistance carrying the barred owl box up the rope, as you will be hanging it about 20 feet above the ground. You should be able to build and secure your barred owl box using this DIY plan.
How To Make A Barn Owl Nestbox
Although the construction of this barn owl nest box is a little challenging, the effort will be worthwhile. You must first create the entry hole. There is no specific size for the hole; it will depend on the size of the tree you are hanging it from.
To make the most of the inside area of the box, move the entrance away from where you intend to hang it. The side components that will contain the front piece should then be constructed. Last but not least, secure the roof over the top of all your components and include a perch to provide your occupants a little additional luxury area.
How To Build A Barn Owl Nestbox For A Tree

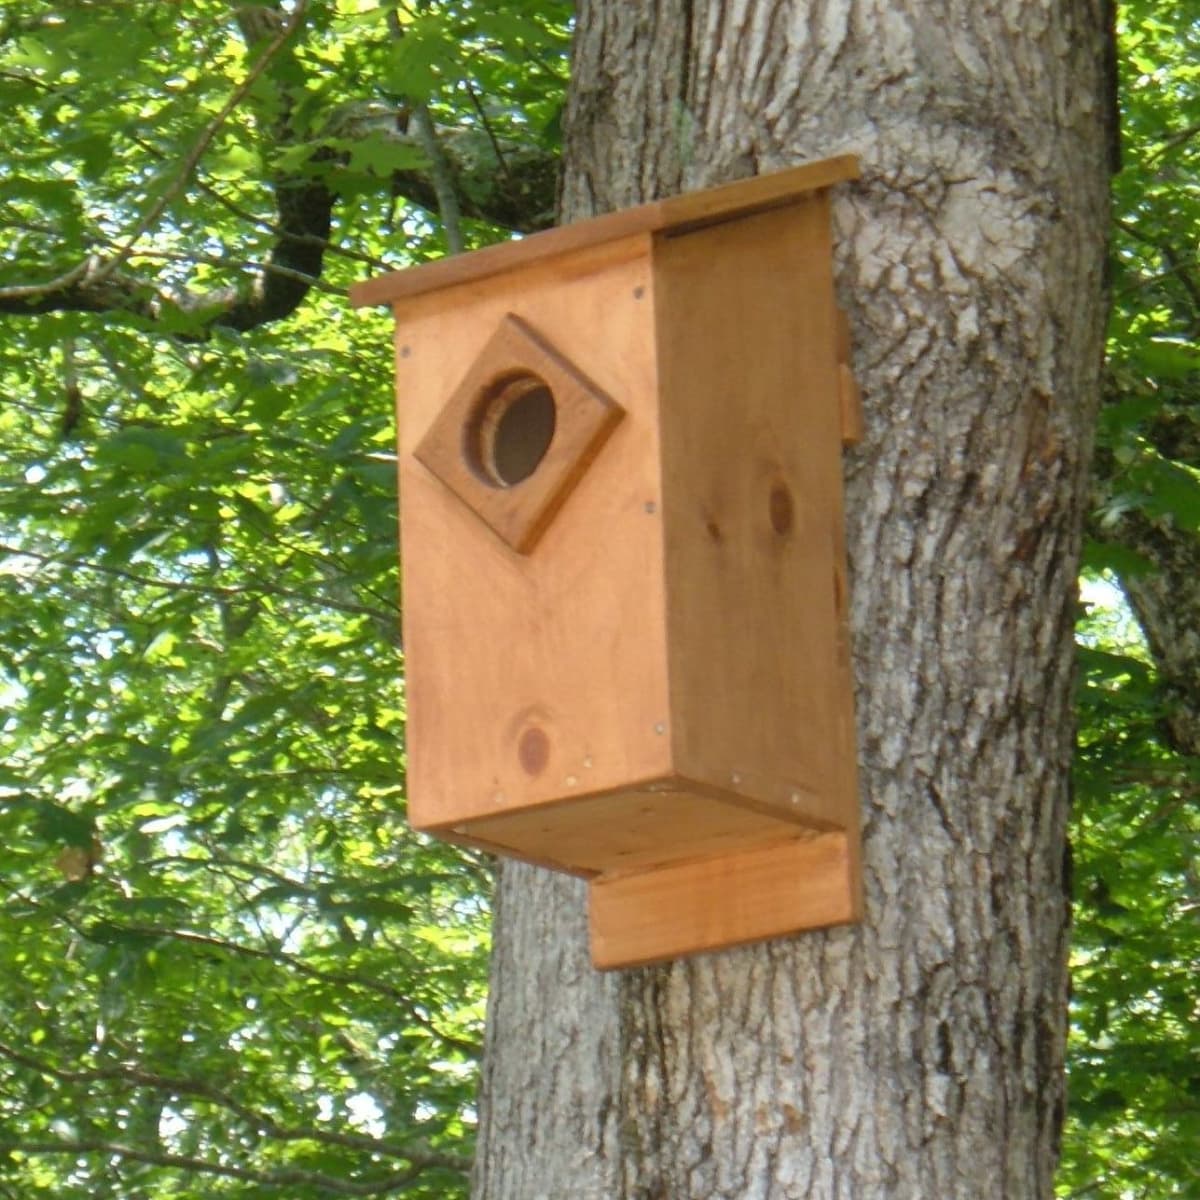
The fact that the entrance hole is placed back while the two sides and the roof are set forward is one of the outstanding features of this barn owl nest box. The front portion of the box contains a drainage hole to keep the contents dry. The distance between the bottom of the entry hole and the bottom of the nest box is another crucial consideration.
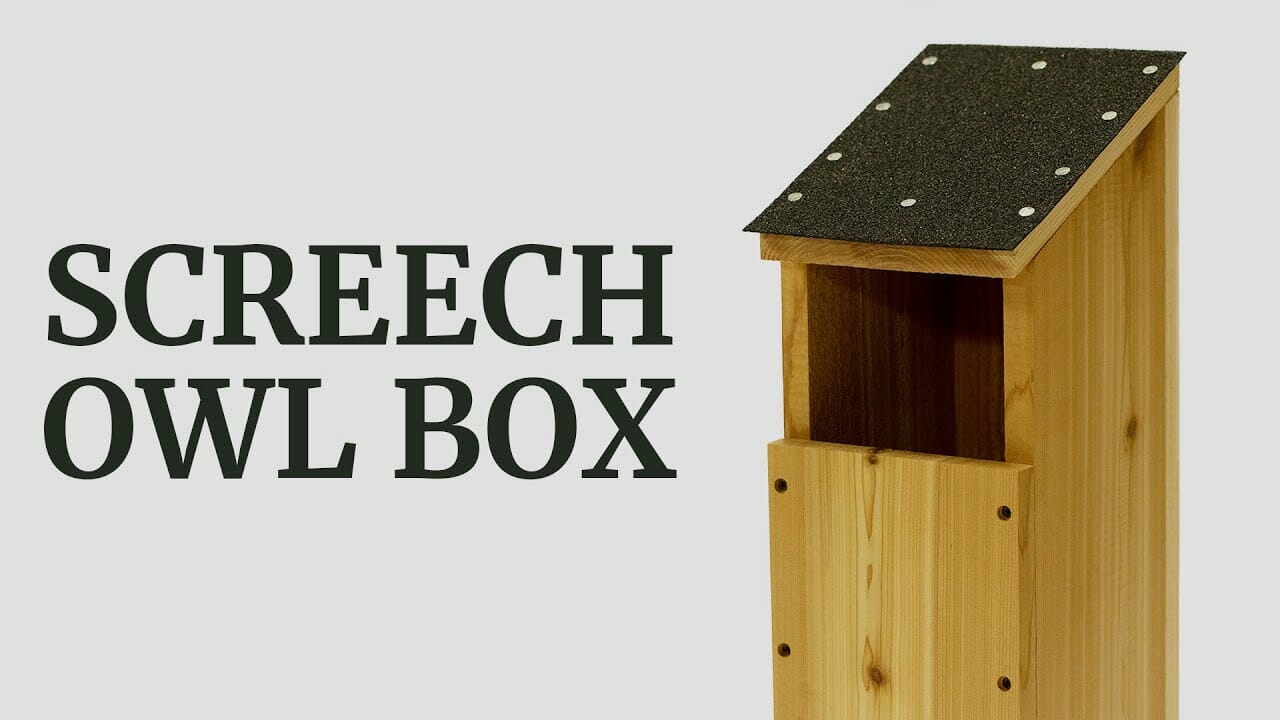
DIY Screech Owl Nest Box Build
Owls are stunning and intriguing animals. They are nocturnal and may pursue their food in a number of methods, including from tree to tree or from the ground up. They also produce a variety of noises. A bird that is most active at night and in the twilight is the screech owl. It is a little bird with golden eyes that like to be awake at night. It is renowned for having long tail feathers and the capacity to catch flying insects.
Screech owls are mostly found in eastern North America, although they are also widespread in many other regions of the world. You will discover the fundamentals of an owl nest in this manual, as well as its purposes. Along with the list listed above, it also provides instructions for making your own screech owl box and information on other nesting aspects.
Screech Owl Box by FeltMagnet
Nearly every area of the United States is home to screech owls. Even though they may be found in urban settings, they prefer mature forests. With a height of 10 inches and a wingspan of 24 inches, these owls are some of the tiniest members of their species.
Screech owls typically hunt at night. Instead of building their own nests, these owls rely on those created by woodpeckers or on naturally occurring tree cavities. Because of this, an owl box might seem like a very alluring potential abode to them.
But it matters where you hang the owl box in relation to the tree. Despite the fact that screech owls are not particularly wary of human interaction, they can be possessive of their nests, thus it is advisable to put the nesting box on a tree far from paths.
Additionally, screech owls do not gather nesting materials, so if you want to assist safeguard their eggs, you’ll need to put a layer of pine shavings at the bottom of the box. Set the nesting box up around 30 feet above the ground.
Screeching Owl House Plan
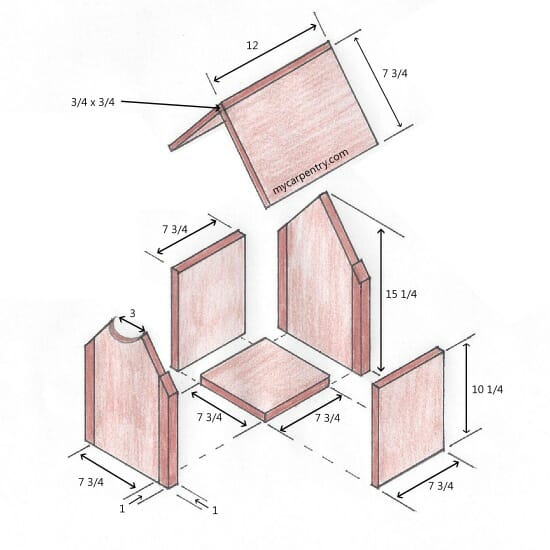
DIY project for those who want to protect wild birds is the Screeching Owl House. Wood, mitre saws, and nail guns are possible habitats for birds. It’s simple to construct this shrieking owl home. The wood used in the design, which is 12 inch MDF, has a very fine grain and is resistant to warping.
A mitre saw, hammer, wood glue, and wood screws are required for construction. Four pallets will be created from the required 15 wood slabs for the project. The next step is to cut four pieces from each slab at an angle using the miter saw to create an oblong shape.
How To Make A Barn Owl House

Measurement plays a critical role in the design of this barn owl habitat. This will be simpler with a trimming list. The steps involved in production are listed below; Start by gathering all required supplies, tools, and safety gear. For a list of the required supplies and tools, see the link below. Before beginning to assemble the parts, measure the wood and cut it into appropriate-sized pieces.
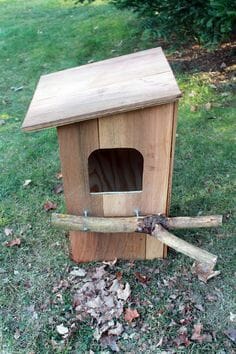
DIY Owl House
Do you need a task to keep you busy during these sluggish summer days? Why not construct a lovable owl house? You know, the main drawback of most owl houses is their unsightliness. Despite the fact that very little work was done, they have a highly distinct style and appear to have been freshly constructed by the owner. But this easy do-it-yourself project will fix the issue. You will be able to modify it in any manner you like. Cut the wood into small pieces first.
The final stage is assembly and glue-up. Attach the sides to the top and bottom of the box using a very strong adhesive. After that, put every other component together. Then, cut a hole for a wooden cylinder on the box’s top. Put your beautiful birdhouse outside and paint it or leave it as is so your adorable little guests may visit soon!
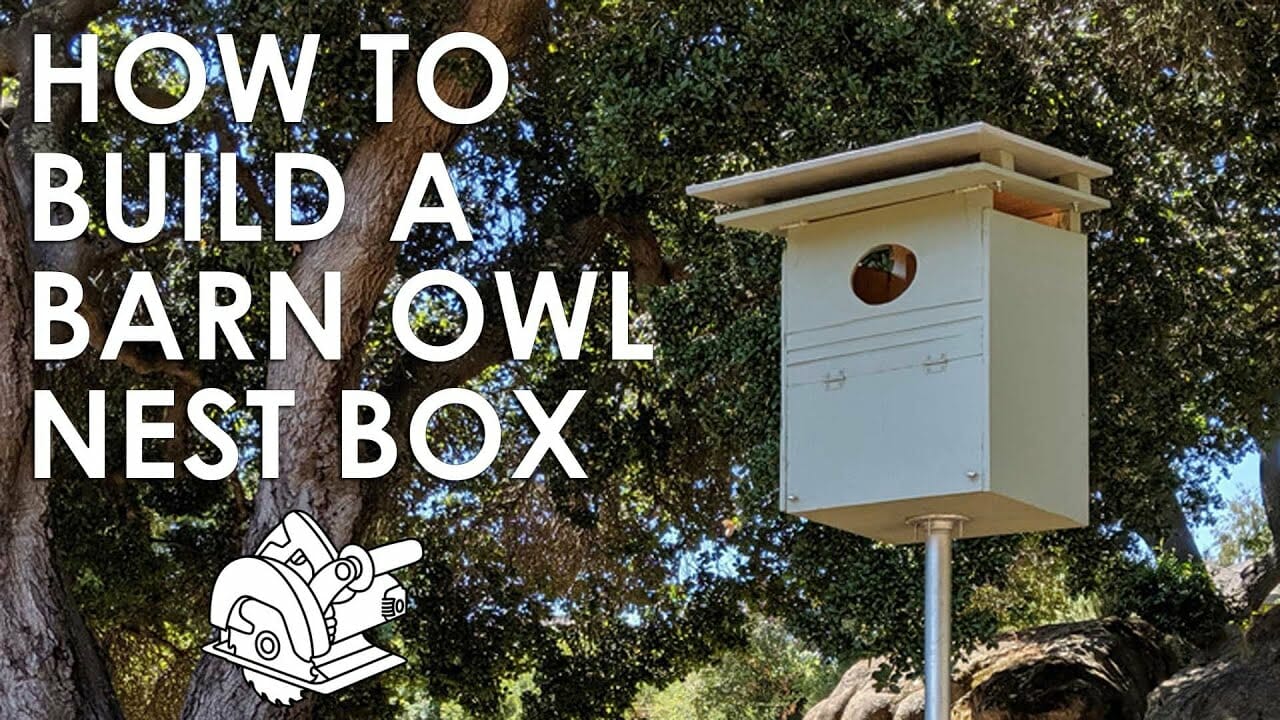
Barn Owl box by Instructables
With the exception of woods, barn owls are among the most common owl species in the United States. Nevertheless, the loss of habitat brought on by logging has caused a sharp decline in their population.
For breeding and nesting, barn owls rely on tree cavities rather than building their own homes. Making a barn owl box will help to preserve these birds’ habitat. However, building a nest for a barn owl involves inventiveness since it must be large enough to hold up to 18 hatchlings while being compact enough to keep larger owls away.
You might think about putting your owl box inside a building because barn owls like to nest indoors, especially in barns. A barn owl box should have a shelter that is at least 12 feet high and an aperture or hole that is at least 9 feet high to make it easy for the owl to enter and escape. Make sure the owl can see the box through the building’s opening before positioning the owl box.
DIY Barred Owl Nest Box
To comfortably incubate and safeguard your barred owl eggs, use this DIY barred owl nest box. This Box is intended to be positioned near to the ground and has a pretty roomy inside. If a neighboring tree or utility pole is available, this is the box for you.
Although it’s easy to assemble, this barred owl bird box or nest is not a kit for beginners. To create this project, some carpentry skill is needed. Being cautious when moving and installing the shingles would be beneficial.
DIY Recycled Owl House
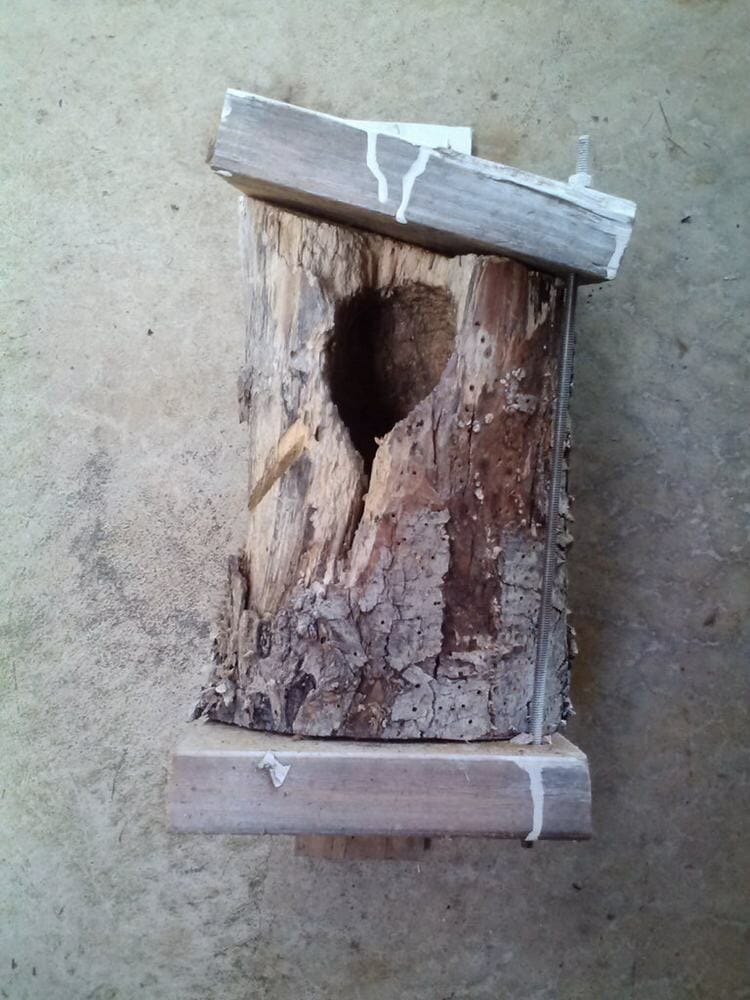
Some trees that have hollows can serve as owl houses. You won’t have to worry about an owl home ever again if you have or locate a tree with this trait. Here’s how to transform a hollow tree into a home for owls: For the purpose of giving water a runway to fall on the nesting box, cut the tree’s top at a small slant. For the top and bottom of the box, they cut two 2″ x 8″ pieces of wood.
DIY Barn Owl Nesting Box
The construction of a barn owl box is simple and just takes rudimentary carpentry skills. Even though the entire procedure takes around 4 hours, if you have the right supplies and skills, you can construct a box in under 2 hours.
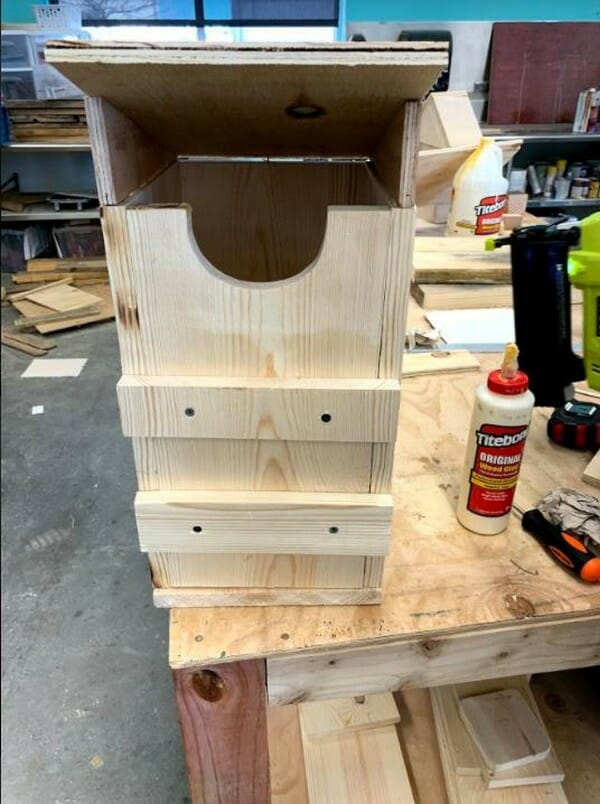
The first step is to cut out all of the 1″ and 2″ frame components. Every 6 to 8 inches, insert a screw to assemble the frame. With washers and nuts, hinges are used to secure the front and back. For the nest box’s top bar, cut some waste wood. Use carriage bolts to fasten the top bar to the box’s top after marking the holes on the top bar.
Make sure the vinyl sheeting’s two cut-out sides are long enough to extend from side to side. Utilizing hinges, fasten one of them to each side of your nest box. The vinyl sheeting ought to come with the hardware.
To raise one side of the nest box so that you may also attach hinges to it, use two more pieces of scrap wood. Without a vinyl top, attach the final two sides using buck or conventional hinges on one end. To be able to raise the front door open if necessary, you could wish to attach them at a different height.
Owl House Build Plan
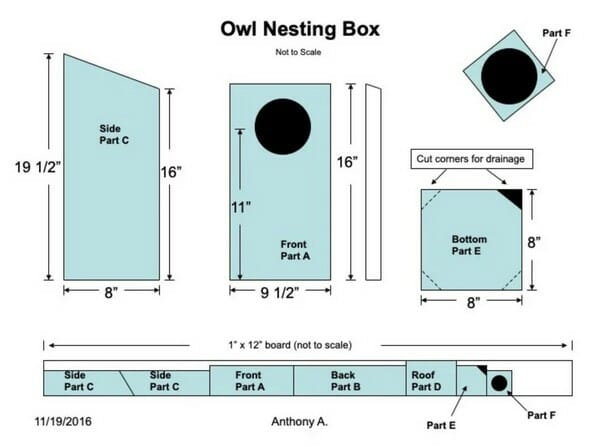
The screech owl home design is included in this DIY woodworking plan. You will discover how to construct an appealing, simple-to-build, long-lasting owl box. The plan includes comprehensive material lists, clear drawings, and a step-by-step instruction booklet that guides you through every stage of building.
With simple tools and supplies, anybody can make this owl box. Anyone can make one thanks to the clear, step-by-step directions and numerous images.
DIY Owl House With Cedar Board
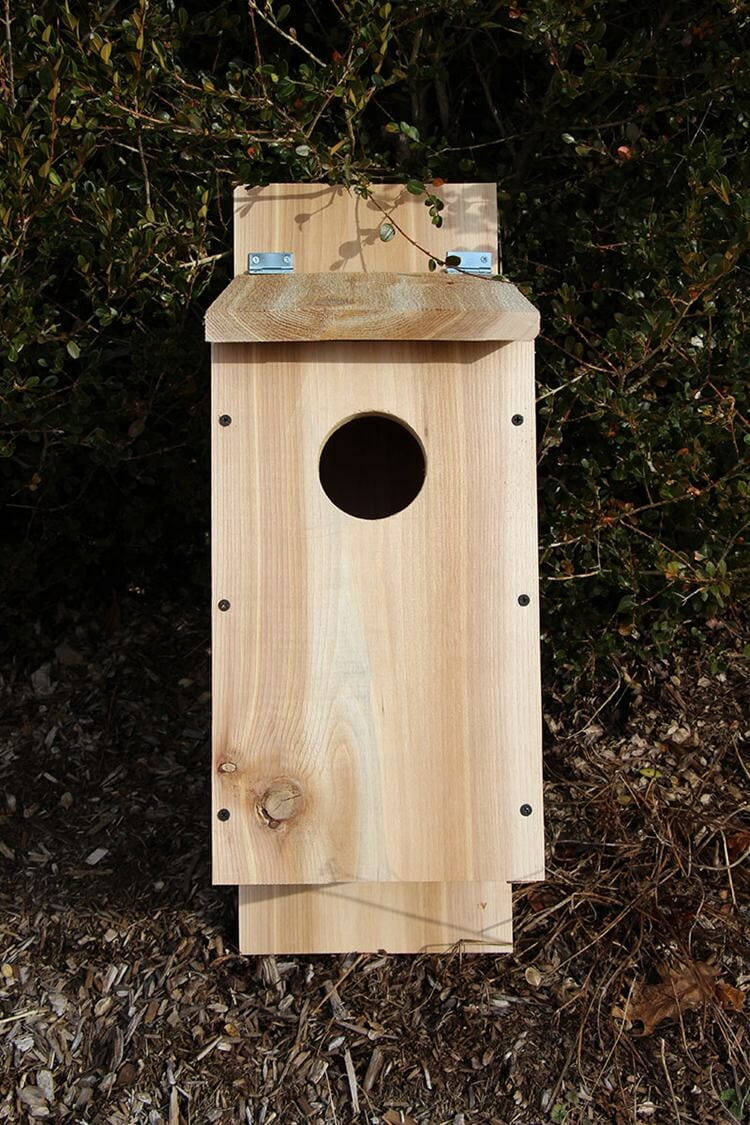
Here is another cedar-board-built screech owl nest building. In addition to the crest tree, other materials and tools required to construct the screech hole include wood screws, 12″ screws, a straight edge, a framing square, a measuring tape, a cordless drill, a set of spiral bits, a set of driving bits, sandpaper, safety glasses, and gloves.
Barred Owl Nestbox Build DIY

Making a barred owl nest box may be time- and labor-intensive. But the teacher in this video lesson did an excellent job of breaking out each step in the construction of one. He also demonstrated the necessary equipment for constructing this barred owl enclosure.
Making your own barred owl nest box requires you to complete four essential procedures. For each component of the box, you must first cut pieces of plywood. Drill ventilation holes into the side parts after that. Make entry holes at the box’s front portion next. Finally, you must paint it in your preferred shade and hang it near a tree where these birds typically raise their young.
