Maybe you don’t think you can draw. But even if you’re just starting out, I can assure you that you can improve with regular sketching exercises.
Every novice is concerned about making mistakes and failing to achieve their goals. But you need to get your act together and treat yourself nicely. Rarely do people possess outstanding skills from birth. The rest of us must continuously practice.
Additionally, you must improve your sketching skills by performing some simple exercises on a daily or monthly basis. We’ll see.
The outcomes will ultimately become apparent if you are persistent and patient. Let’s now examine what you may do to enhance your sketching abilities in your art journals so that you can create gorgeous pages and relish every moment.
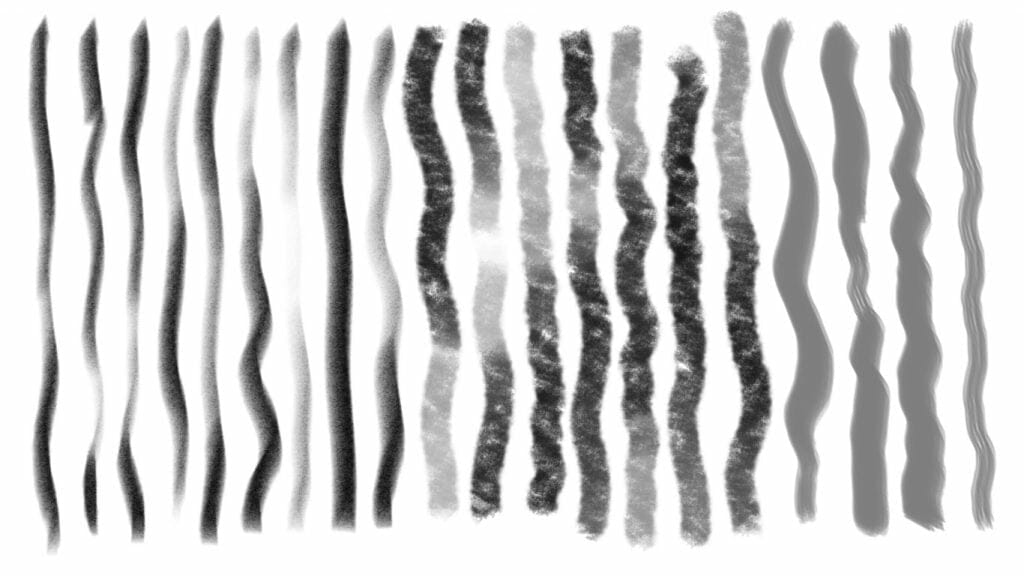
Doodles and Textures
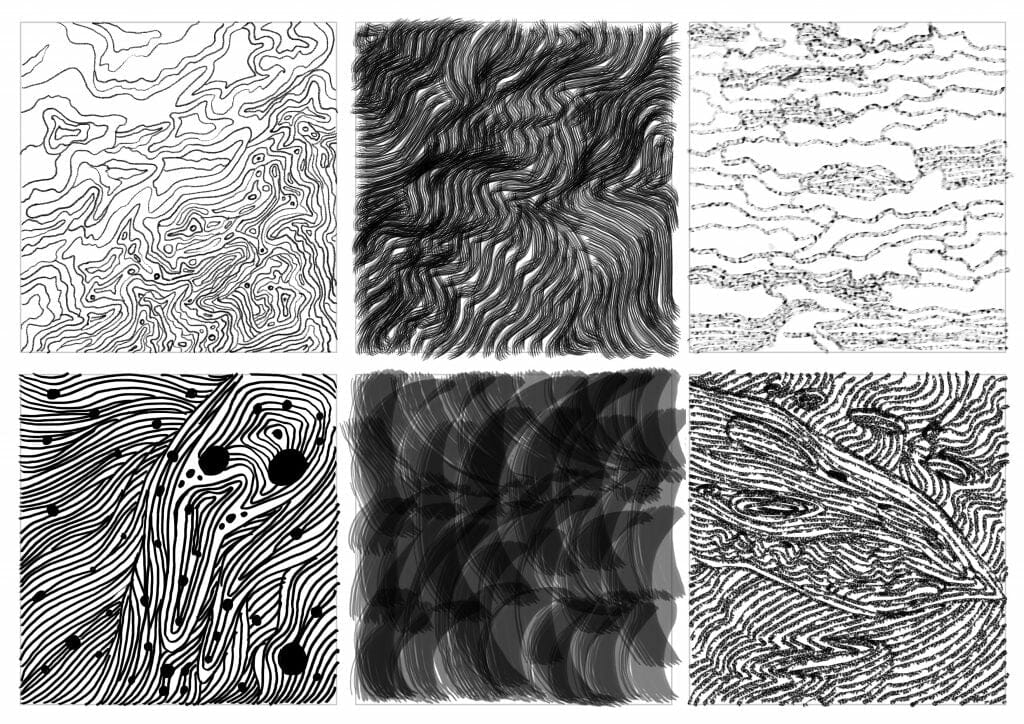
Draw anything that comes to mind; follow the flow. Try effects that are sharp, wavy, jagged, or hairy. Try not to overthink things; instead, let your pen guide the actions. This step in the creative process is frequently overlooked. Things may be really creative and calming to just let it flow.
This technique is a great exercise to help you get out of your brain if you are experiencing a creativity block. The way your fingers and stylus move is quite soothing and arouses a sense of sensuality. It’s just like when you were a kid and didn’t have any expectations of “perfection.”
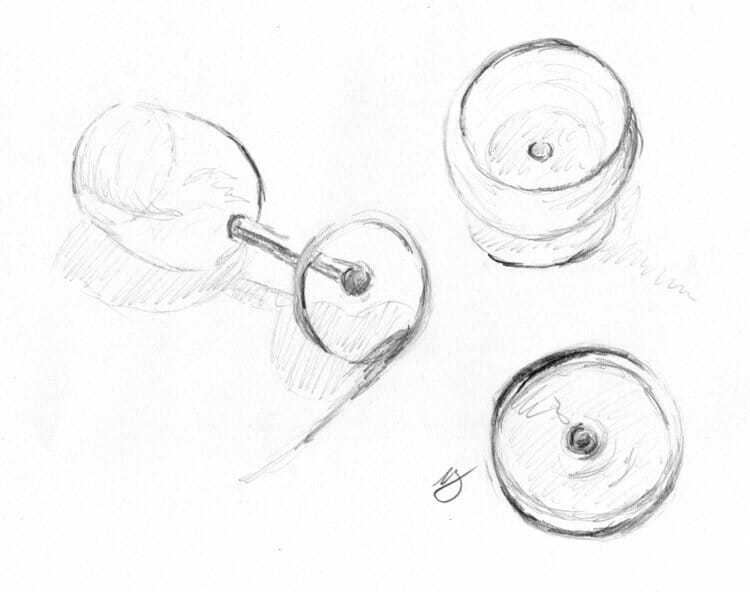
Shape Drawing Exercise

Shape drawing is equally vital as line drawing. After practicing lines, it’s time to add some variety with shapes. Basic forms like circles, squares, triangles, rectangles, and ovals are all things you can draw.
While it may appear that everyone can draw a circle or an oval, in fact many individuals find it difficult. For instance, when I initially started sketching faces, I had trouble creating the head’s fundamental oval shape.
But after practicing, I can now draw this form rapidly and it will always seem to be an oval on the first try.
Use squares and circles in the same way. Draw one circle with several iterations of the same lines, then another with different-sized lines. Your muscles will start to memorize this, and before long, you’ll be able to draw any form on the first attempt, and it’ll be great.
Try sketching forms not only flatly but also from a 3D viewpoint. By doing this, you’ll learn about new areas in which you need to improve, which is always advantageous.
Draw Parallel Lines
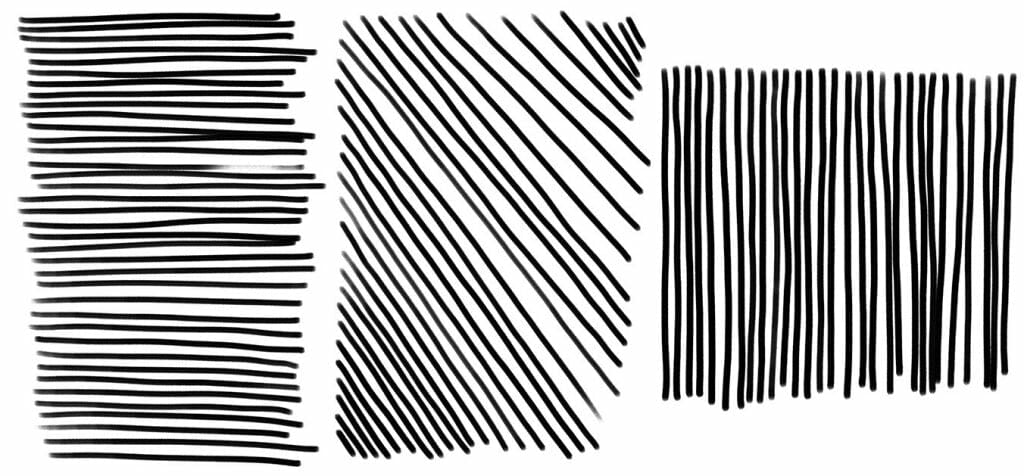
From one end of your digital pad to the other, draw a line. Keep it stable and intact. Draw with your entire arm, not just your wrist, to have more control over the flow. Copy the line you just drew after that. Try drawing a second line parallel to the first while keeping the same smoothness and angle. Errors and poor lines are OK! Try it as many times as necessary to obtain parallel, straight lines.
Drawing Exercise: Entopic Graphomania
This practice in sketching is inspired by a surrealist game. Simply mark select words or letters with dots on a piece of paper—it can be a page from an old paperback book or anything else with marks. Whichever symbols, phrases, or letters you like are your choice.
Then, to form a pattern, join the dots with curved, zigzag, or straight lines. These activities make hidden patterns in negative space visible, demonstrate how decisions may have an impact, and encourage you to use randomness to advance your work.
All in One Take
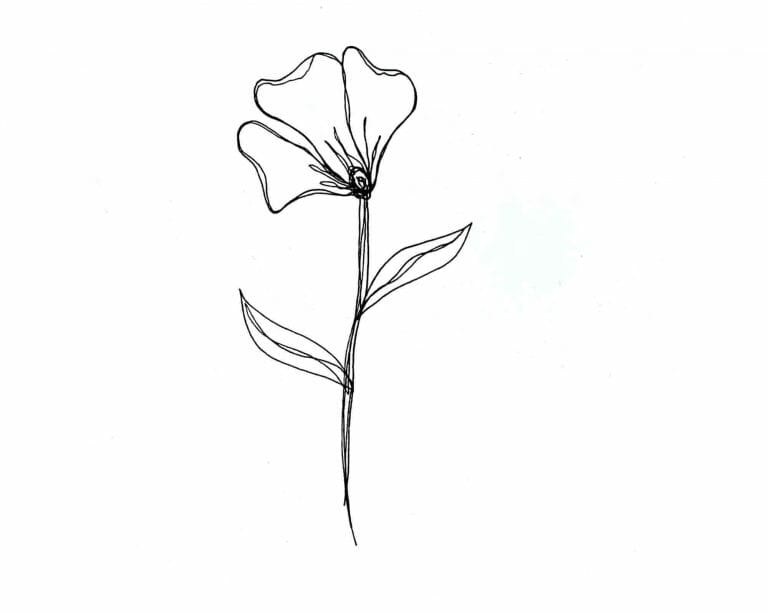
You’ll feel like a youngster again after doing this fantastic activity. Giggles are a given. Try sketching without ever taking your pen off the page. Your creativity is sparked as a result of your brain having to come up with new methods to depict certain objects. It also functions as a problem-solving exercise.
Your drawing for this exercise may likely initially appear weird and odd, but disregard that. Accept learning as a process. This is just an exercise in sketching; it’s not a contest.
Choosing to draw something straightforward, like a flower, is the simplest way to do this. You require a stem, a few petals, and perhaps a few other components. Start your drawing from the inside out, or from the stem’s base upward. Naturally, since your pen must remain on the page the entire time, you can repeat the same lines multiple times.
Shapes Big and Small
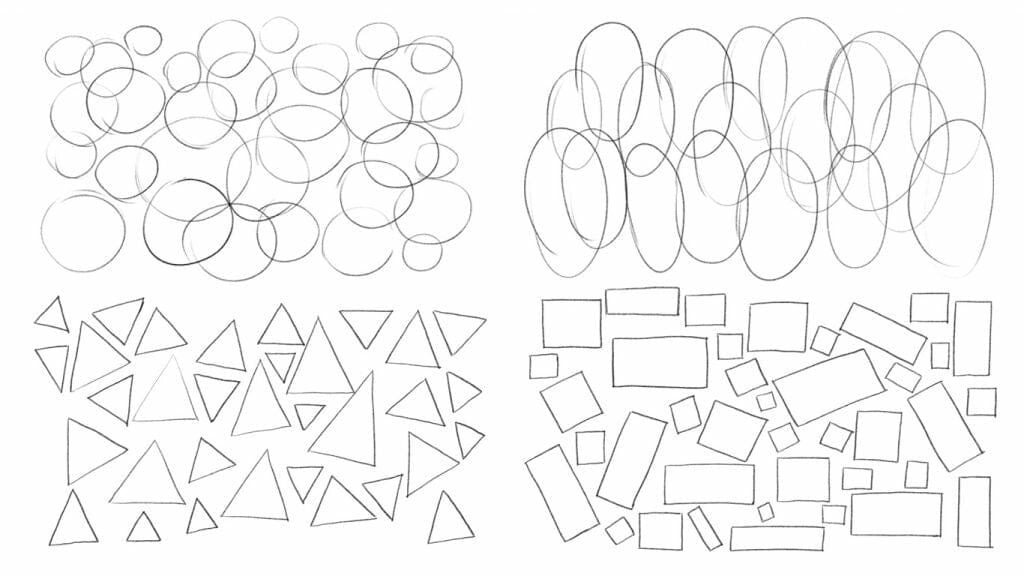
Oh, you did hear me! Draw the kindergarten-style shapes. diamonds, squares, ovals, triangles, and rectangles. Use one shape to fill each page. After finishing, move on to the next.
Concentrate on creating fluid lines and brushstrokes in your drawing. Be constant and intentional. Drawing shapes will enable you to increase the precision of your drawings without using the eraser. The goal is to succeed after a few tries.
Drawing Exercise: Non-Dominant Hand
It could be time to reinvent yourself if you’ve been sketching for a while but feel uninspired or stuck by your markings. By doing so, you’ll likely learn something new. I once created a wonderful exercise that required me to use graphite pencils and fine-surfaced drawing paper to portray minute and perfect details (Strathmore Drawing paper).
Because I was bored, I decided to break my tendency by using the exact opposite equipment and paper: ink in a defective dip pen on hot press paper, which has a faint spongey feel. I didn’t use any photos as references and I also used my non-dominant hand.
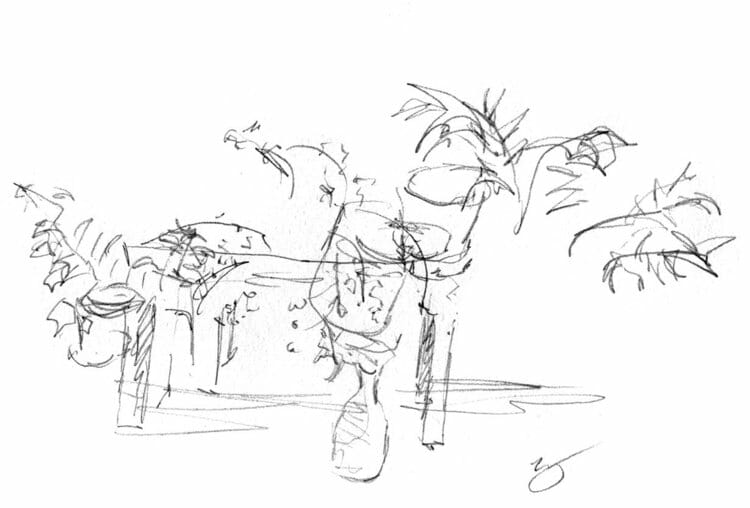
Sketch What You See
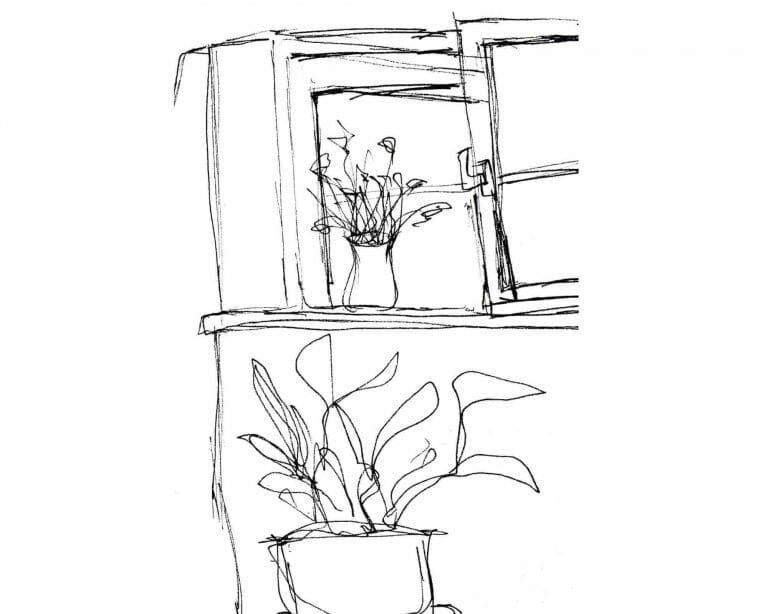
Draw anything you notice while sitting in the room of your choice. This may also be done outside. Draw all you observe while picturing your perspective within a box or other container. Drawing is more essential than paying attention to the details. Simply follow the flow. If your viewpoint is skewed, don’t panic; mastering these things takes time.
Mandala Trace-Outs
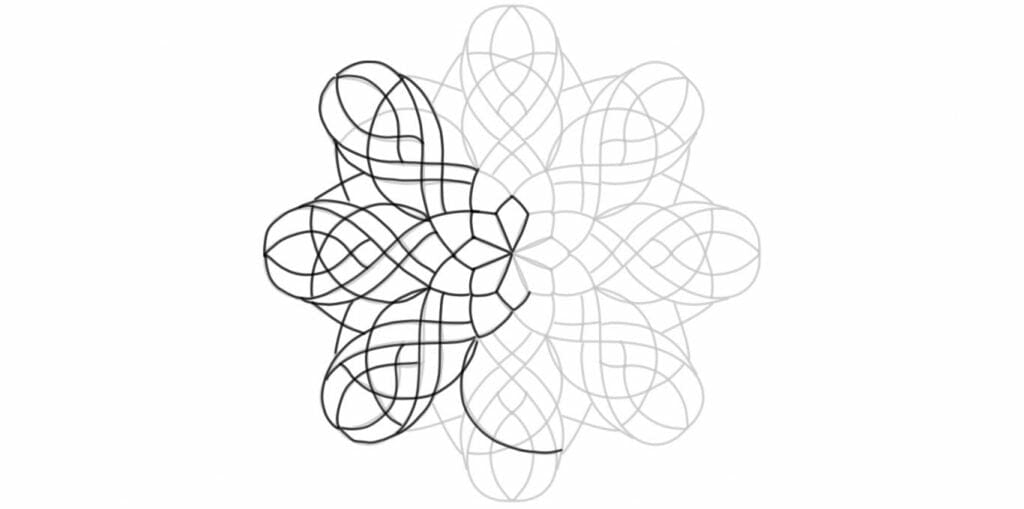
Making a duplicate of a mandala and practicing drawing various types of lines is an excellent idea. Select the short, straight lines, then the long, straight lines, the short, curved lines, then the long, curved lines. Simply trace these lines using a pencil or pen.
Maintain a comfortable drafting position for your wrist. Short lines typically simply need your wrist. the longer lines, use your forearm. As you practice, you’ll find that drawing the lines on your mandala is getting simpler and more accurate. You’ll soon be able to draw these lines uniformly and effortlessly.
Don’t Look Now!
I often use this simple yet enjoyable practice when I feel like I fret excessively about the appearance of my completed sketches. You know, before you’ve even filled up half the page, you start to consider whether you could hang it on the wall, show it to your friends, or include it in your portfolio.
You won’t need to worry about that pressure any more thanks to this workout. All you need is a topic to draw, along with your pencil, pen, or ink.
As you usually do, attempt to draw your subject while looking at it. Don’t glance at your document, but with one slight modification. At all. Not even the slightest glance. If you will, you are half-blind when sketching.
You can examine your subject, but until you’re done, you shouldn’t reveal what might come out of it.
Put your sketchbook on your knees and draw beneath the table if you find it difficult to avoid peering. Alternatively, insert your pencil through the center of a paper plate to obscure your vision as it travels.
Of course, after you’re finished, your sketch will resemble a subpar Picasso. And it is the key idea. You’ll focus much more intently on the drawing process if you are aware from the beginning that the final product won’t be suitable for exhibition.
You’ll see an improvement in your sketching if you practice this on a regular basis. Your subpar Picasso will begin to resemble a subpar Matisse.
Because drawing while blind develops proportional and spatial awareness. which, once you resume working while reading the paper, makes things simpler for you.
Drawing Exercise: One Day, One Theme
Choose one subject or one category of item to sketch solely throughout the course of one day for this practice in drawing. You may change how you go about it by selecting an alive or inanimate item, a color, a size of anything, something that makes you laugh or feel frightened, or something that begins with a particular letter.
You may also use synonyms to distinguish between things that physically move you and those that move you emotionally, such as forms of transportation. The more considerate you can be, the more your concept-building and manual dexterity skills are exercised.
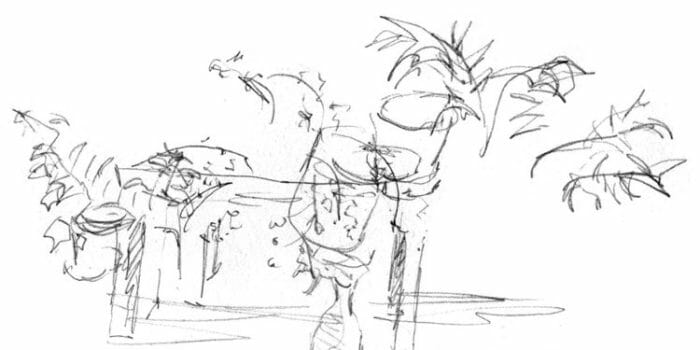
Continuous Blind Contour Drawing
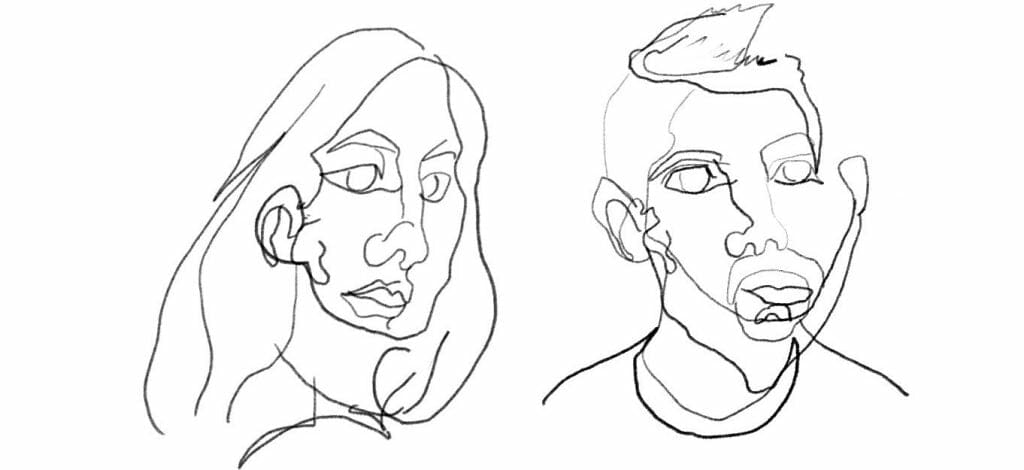
Pay attention to the topic you want to sketch. Follow the object with your eyes. Without looking away, do sketches on the desk-mounted paper or tablet. This may be compared to learning how to operate a keyboard for novices.
Although this approach is first perplexing and challenging, if you become used to sketching in this manner, it may be enjoyable. This prevents the important left brain from taking over and compels your thinking to use just sight and touch. In his book The Natural Way to Draw, Kimon Nicolades first described this method.
Change of Perspective
Even with a straightforward topic, sketching in perspective may be rather scary. Another step up from that is drawing without a reference, which requires a solid understanding of the fundamentals and a sizable visual library.
In order to gradually progress toward our ultimate objective of sketching whatever is in our thoughts and having it seem as realistic as possible, we will practice both techniques in this exercise.
Select a tool that you wish to use. I recommend something straightforward, like a toothbrush or a cup. Now picture how you would sketch that item if you were to do so quickly. Which angle would you adopt? That will most likely be a straightforward side view.
not now however. We’re going to boost our game and choose a harder perspective rather than the simple one.
To locate a viewpoint that you often don’t see it in or don’t notice much when you do, move the thing in your hands or move around it. You’re going to choose anything that appears challenging to draw since you can manage that.
Next, make a quick drawing that isn’t very detailed. Then alter your viewpoint or move on to the next.
By practicing this, you may better comprehend the item, and it’s also useful to have in your visual library in case you need to employ such “strange” viewpoints to spice up a design in the future.
Experiment with Pressure Thickness and Brush Types
It takes a lot of prodding to get me to use a brush that I’m not accustomed to using. The best way to develop and refine your artistic style is via experimentation. Trying one of the countless different brushes is very intimidating.
Just choose a new one for you, though! With a fresh brush, try any of the activities provided here. Change the thickness and pressure. Create some intrigue. Test a new brush by shading a sphere. You could come upon a brush that truly makes a difference and start using it in your routine practice.
One liner
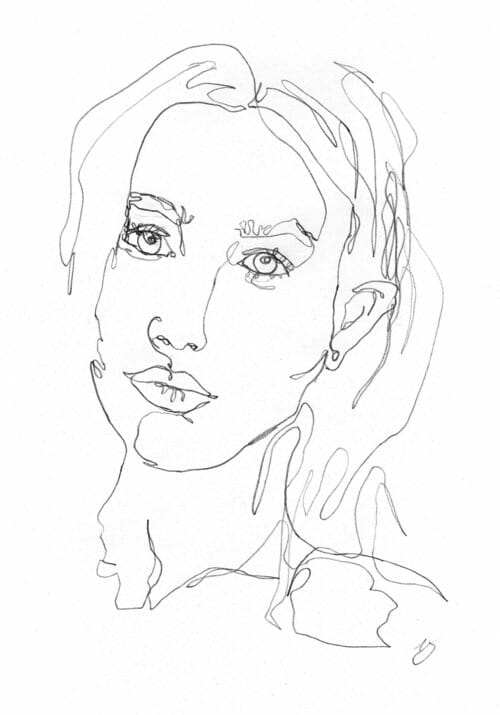
Another timeless piece, and for good cause. It’s enjoyable, quick, and difficult to make a mistake. It’s fantastic for giving yourself a small confidence boost when you need it because your completed drawing will nearly always seem really skilled.
Since they are so easy to make, one-line drawings have been around for a very long time. Simply keep in mind that once your pencil touches the paper, you cannot remove it until the work is done. Every element of the drawing is connected by a single line that runs throughout.
Your brain can easily learn the distances and connections among the image’s components by tracing the entire topic with a pencil and moving it from one place to the next.
No one likes to hold a pencil for a continuous half-hour without ever taking it off the page, thus it compels you to sketch faster than you may normally do.
This method is effective for many different disciplines. Playing around with the style a little may also be enjoyable. For instance, experiment with different pencil pressures or choose sharper edges over rounder ones.
This is another another excellent exercise to develop the ability to identify what is essential to the image and what may be omitted. It takes some time to figure out which shadows, in particular, need to be hinted at for the required depth.
