Here is a fantastic DIY that will offer you an insider’s perspective on how to construct table legs for your tabletop concept. All you need is focus and patience to follow the simple instructions below. Let’s discover which table leg today will fit your tabletop. We discovered projects for making our own table legs. While some of the tasks are simple to do, others are a little more challenging.
DIY table legs may not only complement your lifestyle, home decor, and leftover materials, but they can also be more sturdy. Do you have a creative streak and wish to assemble lovely furniture? Try these simple tricks out, and you’ll love how sturdy your “handmade” tables are. You can obtain the table legs you desire if you make them yourself. It’s time to start making your table legs if you’re sick of sitting in ordinary chairs since they don’t provide you with enough support and comfort.
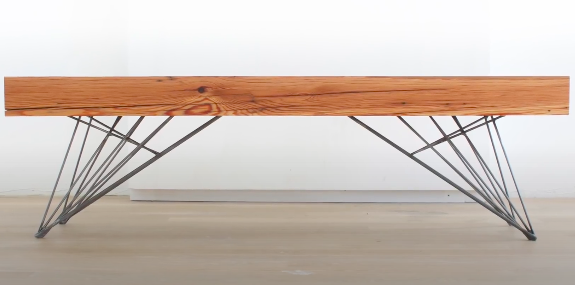
DIY Hairpin Table Legs
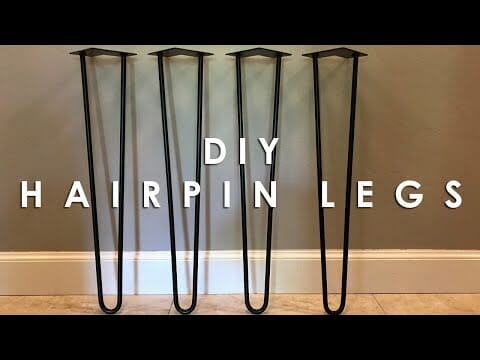
The metal tubing that will be used as the table legs was first cut and ready for use in this time-lapse video instruction. Hairpin table legs were employed by the designer; they are thin metal pipes joined by galvanized brackets below the table. You need not worry if you are not a skilled metal worker because this project can be completed using easy construction techniques and tools.
DIY Dining Table with Cross Legs
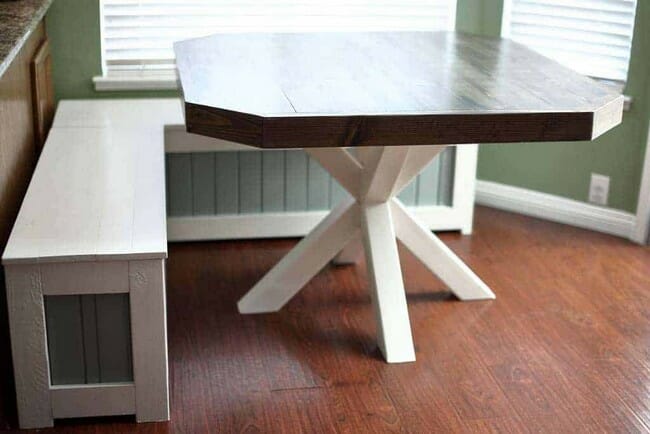
Plan for a Diy Dining Table with Cross Legs The plan was developed to showcase some amazing woodworking abilities. The original table legs are made of sturdy, long-lasting pine wood and are simple to adapt to your needs.
This table’s stability, or the fact that there are no threats of it collapsing, is one of its most crucial features. The cross-legs of this table are robust and solid, and it is simple to assemble. Get the table’s blueprints here and build your own with them!
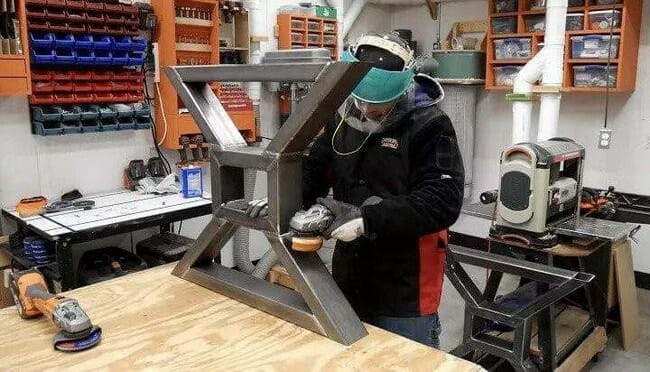
DIY X-Shaped Table Legs
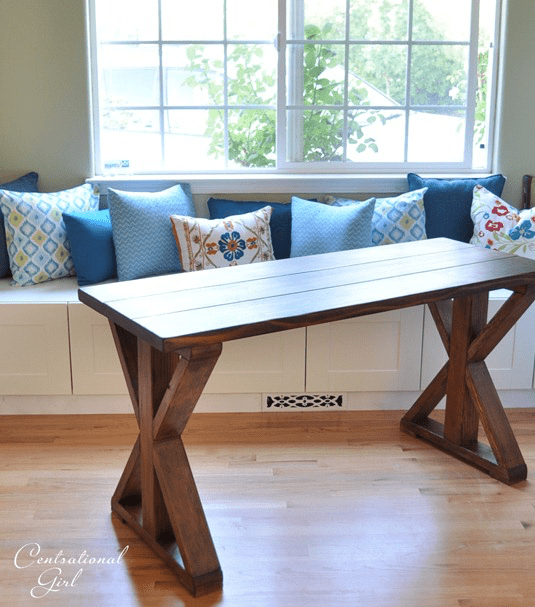
In addition to being fashionable and enhancing the individuality of your furniture, X-shaped legs are strong. In light of the above, this X-base table design is ideal if you’re seeking for DIY table leg ideas that are both beautiful and practical.
Get some dried kiln wood boards and a 4×4 block of wood first. the next step is to measure and cut them. To construct the top, connect three of the planks side by side using glue or screws. In the following phase, screws will be used to attach the tabletop and the 4×4 post to the baseboards.
Making the X-shaped pieces is the component that calls for the highest skill utilization. Put the wooden pieces over the pattern you measured and drew on the floor, then cut them to the precise form you want. The two X-legs must now be screwed to the constructed framework, and you are done!
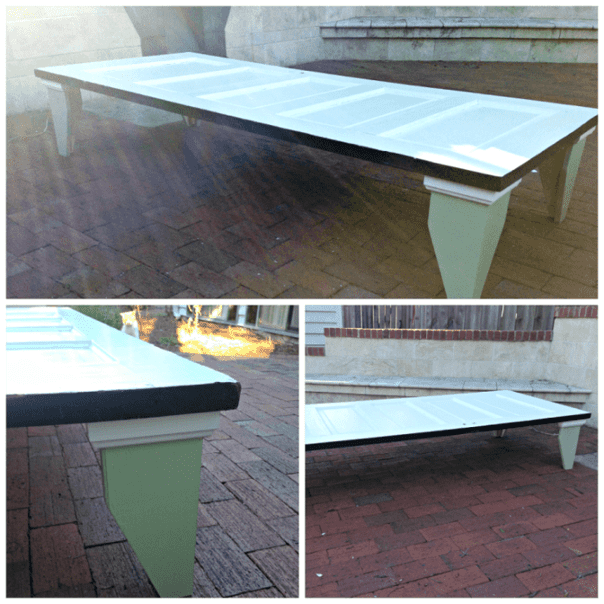
DIY Modern Non-Metal Table Legs
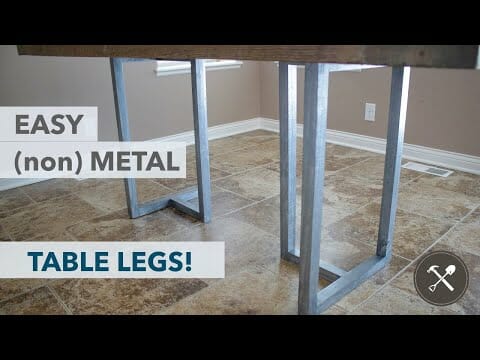
If your dining room table is made of excellent wood and has large, bulky legs, you can follow this video method to create new, more contemporary wooden legs that won’t take up as much area and will look stylish in your environment.
The use of wood was a wise choice since it made the table lighter and, when finished with spray paint, made the wooden legs seem to be metal ones from a distance. It’s a really simple and affordable construction. You’ll need wood, wood screws, wood dowels, Titebond wood adhesive, and a dark steel Rustoleum spray paint, among other things.
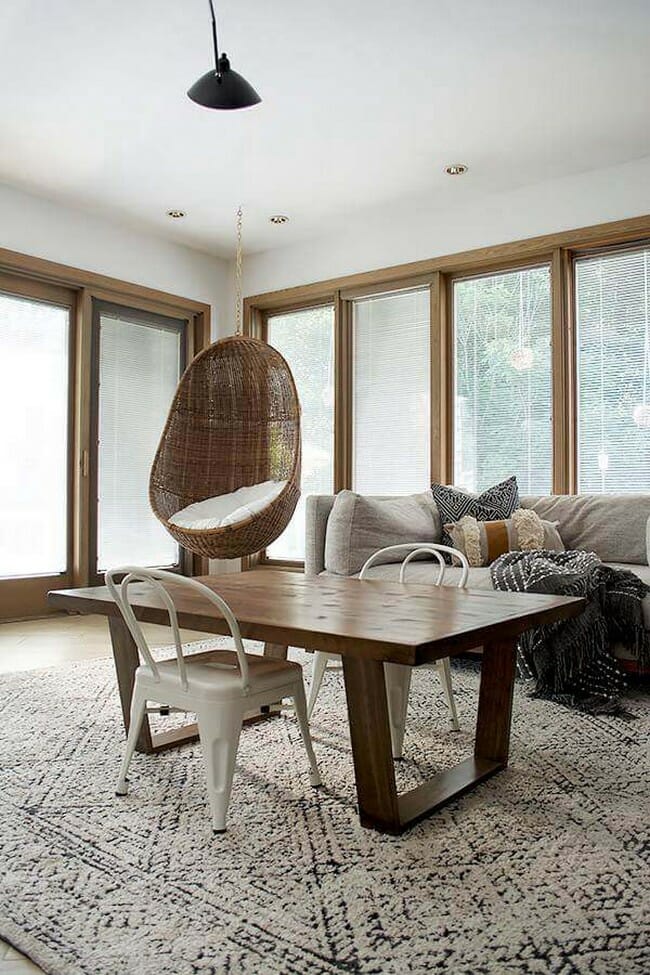
DIY Modern Dining Table
The ideal size for any kitchen or island is this contemporary DIY dining table. It is big enough to play a quick game of cards with the kids or get breakfast, but not too huge that it crowded other items while not in use. This item, which has a natural stain finish, will look smart next to a contemporary chair and should last a lifetime.
This table will be a wonderful addition to your house because it is made of recycled redwood and is simple to assemble. Due to its striking design, it adds a fashionable yet cozy touch to family dinners, card games, and school time. The gray color blends seamlessly with your current décor, whether it is in your formal dining room or regular living room.
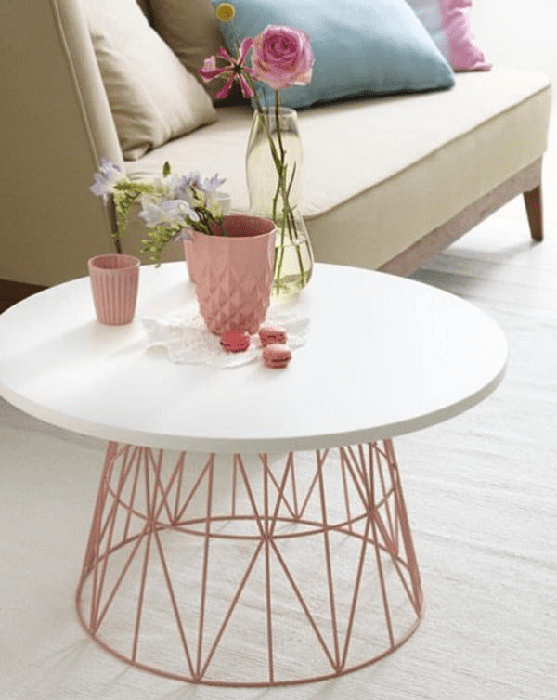
DIY Himmeli Table Legs Using Copper Pipes
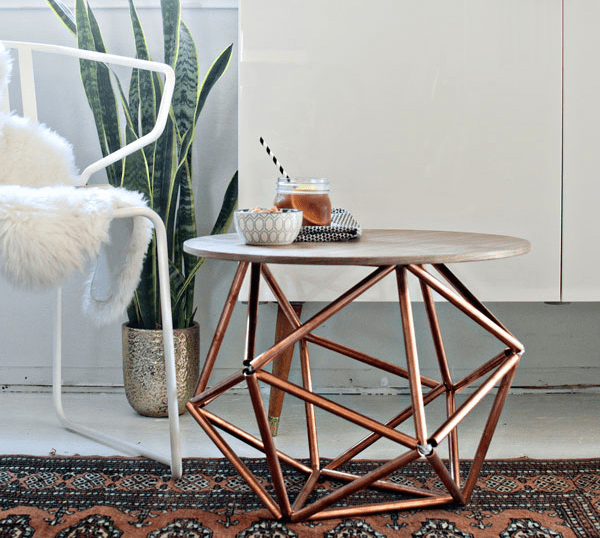
Without including a copper-related DIY project, no DIY roundup is complete. The metal is intrinsically alluring and, depending on how it is fashioned, emits both rustic and modern emotions.
In this design, a beautiful pattern is created by assembling slim copper pipes using the Himmeli process and tubed metal. As difficult as it seems, you’d be shocked to learn how simple it actually is.
Purchase three copper tubes, each measuring around ten feet in length, a bundle of twine, and three copper pipe hangers, each measuring half an inch in length. Next, cut the rope into 10 foot long strands and the pipe into 30 pieces, each measuring 10 inches. For a geometric orb, weave the twine between the copper pipes.
Pulling the twines securely and tying knots at the tips of each triangle are essential for creating a robust base. After doing all of this, use the copper pipe hangers to affix your construction to the tables of your choosing.
Pipe Leg DIY Table
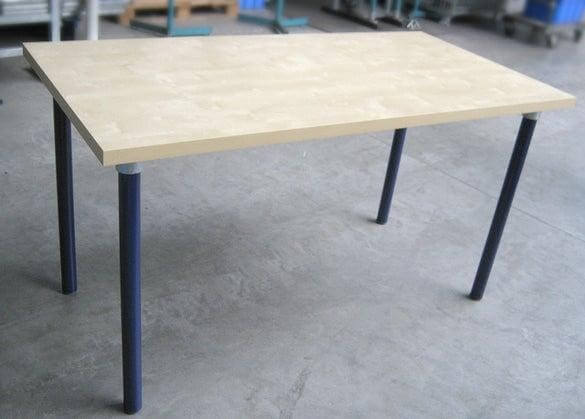
Almost any flat wood board that can easily accept screws may be used to construct this incredible tabletop. This manual will show you how to construct the tabletop and legs before putting them together. The tabletop will cost around $20, but the total spending will just be $100, which is a reasonable amount. Flanges, wood screws, a plastic stopper, legs, and a few other tools are required.
Table Legs From Reclaimed 2×4
A vintage router and a couple various bit designs were used to transform 2x4s into lovely table legs. These table legs seem rough (and might not pass restaurant inspection), but they produced a very basic and low-cost table foundation. I had the same exact thinking and then connected the dots.
They looked really great and were quite reasonably priced. Using supplies I found at work and a few hours of my time on a Sunday, I created this table for just over $30. Nice!
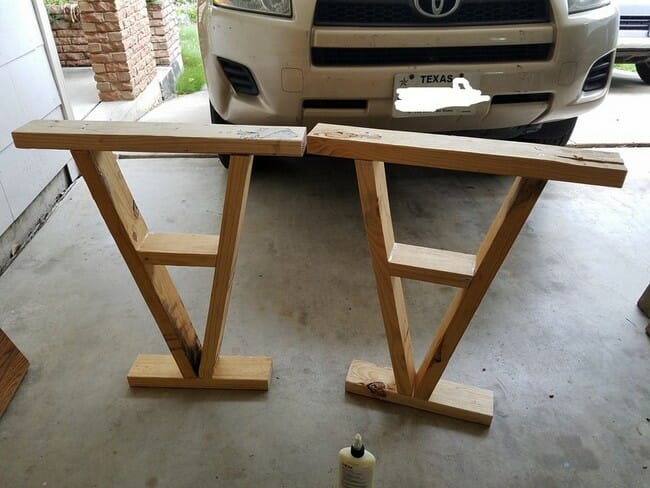
DIY Scrap Pine Wood Table Legs
If you enjoy recycling used furniture or other materials that are laying around, you should have a look at this project by Ecorelics. You are ready to start if you have some pine or other good wood laying around.
A circular saw or a table saw would be required to cut and shape this piece of wood. If you like, you can also choose a miter saw. It functions equally effectively.
After cutting the parts, glue two of them together to create the eight pieces that will construct the four legs. Then, a brad nailer may be used to firmly fasten them. Include a triangular brace, cut from the same leftover pine, at the top of the legs to provide them with additional strength and support. Last but not least, paint the legs in your preferred hues and finishes. You’re all set! Your specially crafted table legs are prepared.
How To Make Table Legs From Wood
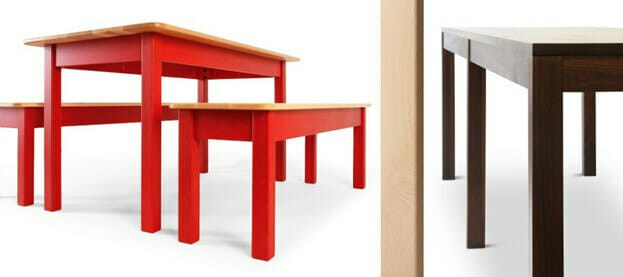
Here is a straightforward tutorial for building square wooden legs. You must pick the proper wood for the construction, sand the eyes, and finish sanding the body. The construction procedure is really simple and enjoyable.
Making a Wood Pedestal Leg Table
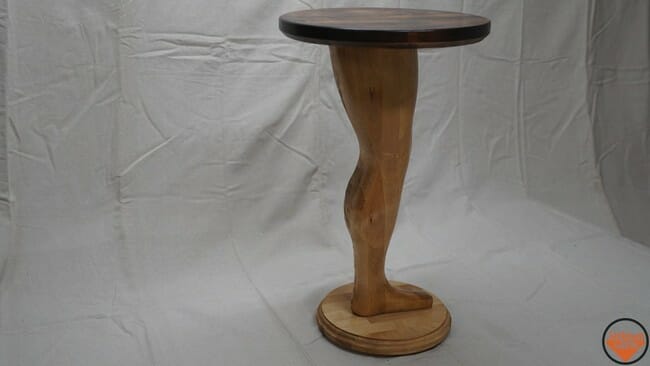
I enjoyed working on this project over the past week or so. It took some time to get everything to fit exactly way I wanted it to and where it needed to go. Five years ago, I conserved three pieces of maple butcher block worktops that I had purchased for $15 specifically for this kind of job.
Basswood, oak, and poplar wood remnants from previous projects were utilized to make the furniture. The legs are the core of this project and make it rock sturdy. Although they may be waxed to help them slide more easily, it feels fantastic on the foot.
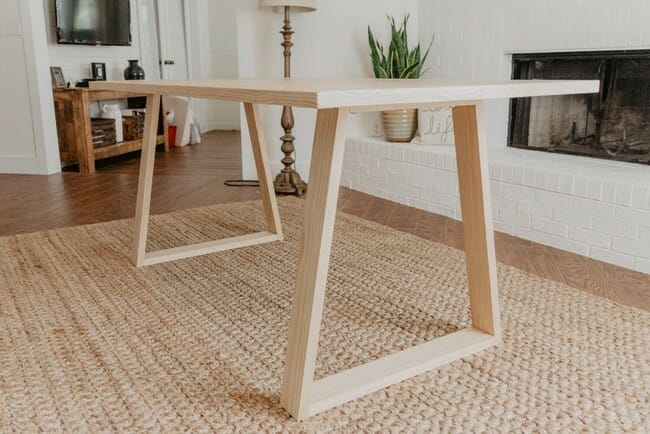
DIY Geometric Table Legs
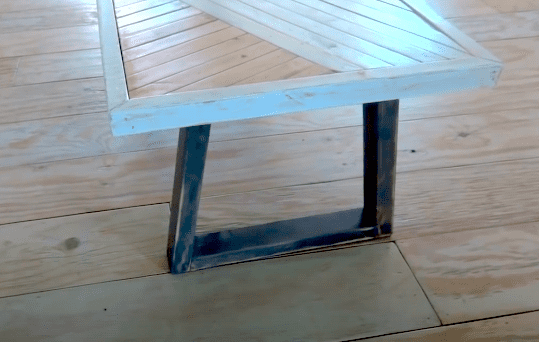
This straightforward trapezoid shape, another one of the DIY table leg designs using reused wood, is certain to appeal to those who enjoy geometric patterns.
Use unused 2″x4″ wood pieces or purchase them from a nearby timber shop to make these table legs. Then proceed to cut them all to the same width using a table saw. After that, use a miter saw to make cuts that are more exact.
You should be aware that the wood’s edges are angled at a 10 degree inclination. To give the legs their slanted, geometric appearance, two of them serve as the foundation plates to which the remaining components are linked. Sand the legs to finish them, and then use spray paint to give them a worn appearance.
DIY VHS Couch Legs
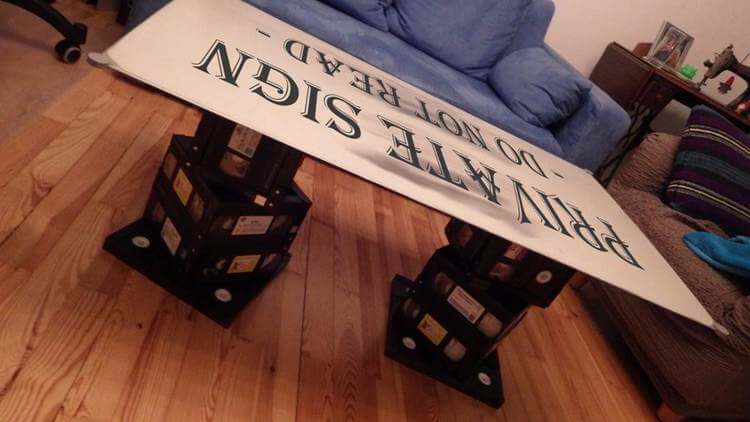
To create these VHS sofa legs, you will want a ton of supplies and equipment. Modern table legs are not as simple to construct as you may believe, but if you follow the instructions precisely, it won’t be difficult for you. VHS tapes, plywood, a cordless drill, a rivet gun, sandpaper, a jigsaw, a bandsaw, and many more tools are required.
DIY Dining Table With Turned Legs
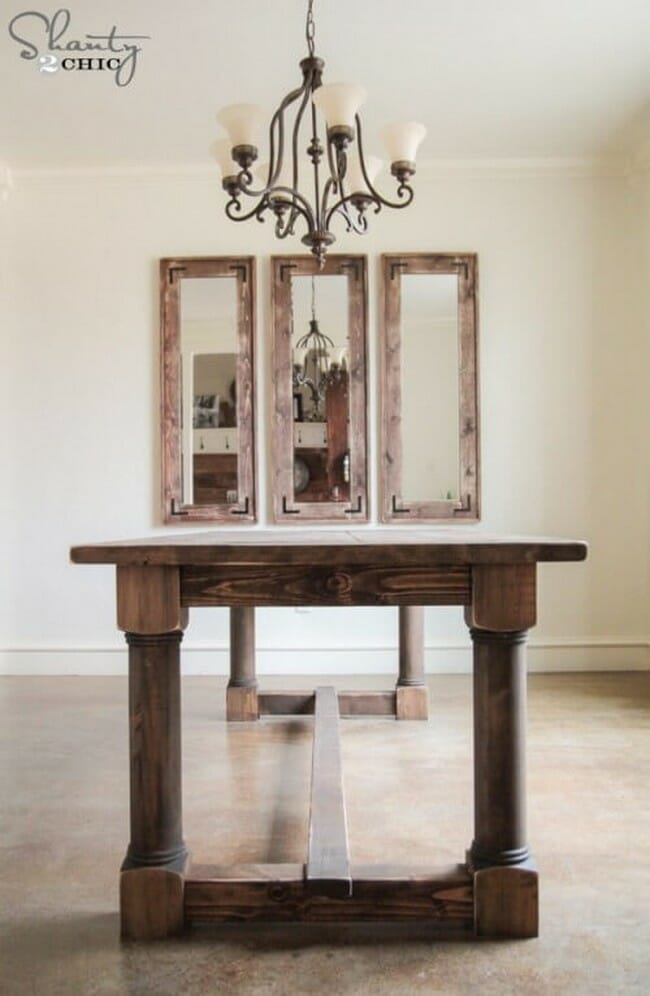
Look no farther than this DIY dining table with turned legs if you’re seeking for durable, rustic, and strong table legs. These legs will give your dining area a rustic feel and are made to be extremely strong and long-lasting.
The entire video demonstrates how to create these yourself, which will take some time and some money and are made of knotty pine wood and cost around $50. It was constructed as part of a project that, including materials and equipment, cost around $250.
Tapered DIY Table Legs
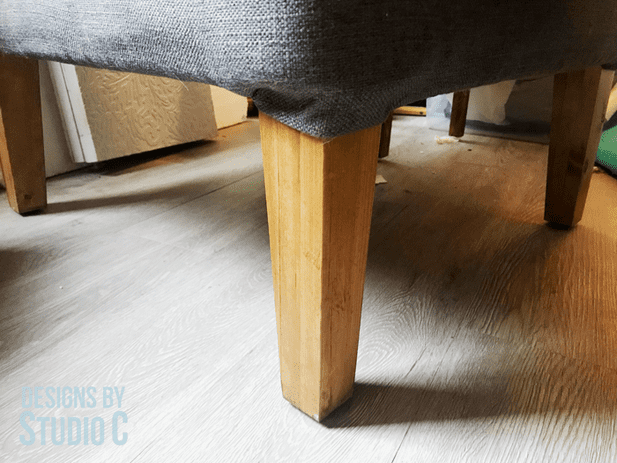
This design is straightforward and ideal for those new to DIY. Furthermore, it is simple to make them according to the directions.
Using this method, all you need is a single wooden 16 board to create tapering legs. This board needs to be further divided into three equal pieces, which are stacked and glued together.
After the adhesive has dried, cut the block into four tapering legs using a miter saw. An orbital sander can also be used to round the corners. I’m done now. Your homemade table legs are prepared. Fit these under any type of table for a sleek, modern appearance!
DIY Table Legs Out Of Books

I find it remarkable that you can use old books to construct these table legs. Drafting a plan is the first and most crucial step since it will guide and assist you in easily building the legs. The complete creating procedure is quite simple using that guidance.
DIY Kids Table With Trapezoid Legs
The DIY Kids Table with Trapezoid Legs is a really simple project that serves a variety of needs. Create one for your dining room, the kids’ play area, or even many ones to create bookcases. Two laminated spruce planks, metal brackets, and a few more materials are used to create this table’s trapezoid form.
Make this table for your house now by following the directions and video guide! This table has two levels that are each six inches apart and twelve inches high. The top of the table measures 30 inches by 30 inches, and the overall measurements are 36 by 24.
DIY Steel Table Legs
Love the thought of stylish, yet industrial, tables? Using this HomeMadeModern idea, make DIY steel table legs that you can add to your tabletop to achieve the desired aesthetic.
The rest of the concept is very straightforward, except from the significant quantity of welding that is required. Steel bars are what you need, and you can purchase them from a hardware shop. Then, using an angled grinder, chop them into smaller pieces using the specifications specified.
The cut components composing the steel bracket should then be joined together using a little electric weld. Steel rods with one end chopped and fused to create the criss-cross pattern should be added to this.
DIY Metal Table Legs
Simple to construct DIY table legs offer robust but stylish furniture. To ensure that the table will not wobble while being placed on the floor, we utilize square tubing and add a steel foundation. They are ideal for low tables since they are higher than other DIY legs. Square tubing may be easily cut to the required length with an angle grinder or hack saw equipped with a metal-cutting blade.
This table will look great in your room. It can be made as tall or short as you need it to be and is simple to put together. To give the table a more aggressive appearance, you could even paint the metal components or purchase other types of pipes from the hardware shop.
DIY Storage Basket Table Legs
Our favorite DIY table leg projects revolve around discarded home materials. They not only show to be cost-effective, but also assist in reclaiming the utility of items that would otherwise be discarded as rubbish.
This one-step project is perfect for you if you find the attention to detail and care needed to finish some of the DIY table leg options previously discussed tiresome. A wired storage basket is the sole item required for this strategy. Simply turn it over and affix a tabletop. Voila! The simplest DIY table legs may now be put to use.
