Are you a fan of long, steamy baths? With these easy DIY bathtub tray ideas, you can make them even better. These trays are sturdy enough to support your phone, a book, a drink, and so much more while keeping things above the water, allowing you to unwind in a soothing bath without interruptions.
If you don’t get cramps from spending too much time in the water, taking a bath at home can be the ideal cure. Similar to TV trays, but for your bathtub, are these bath trays. They prevent your drink from splashing into the tub and keep your book from submerging. Here are some creative DIY bathtub tray ideas to improve your bathing experience.
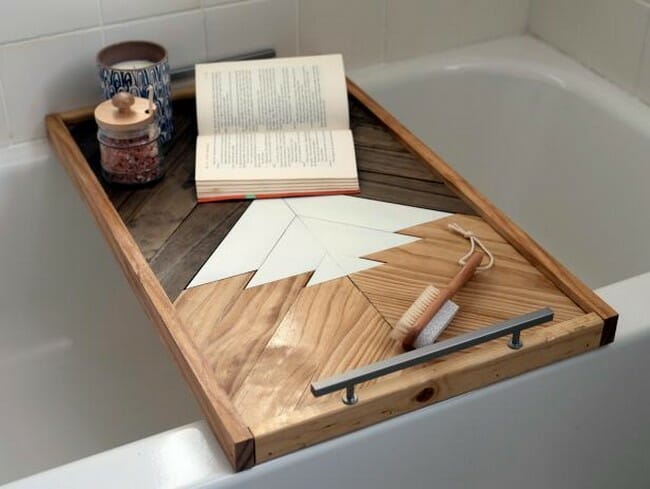
Crafted By The Hunts DIY Bath Tray
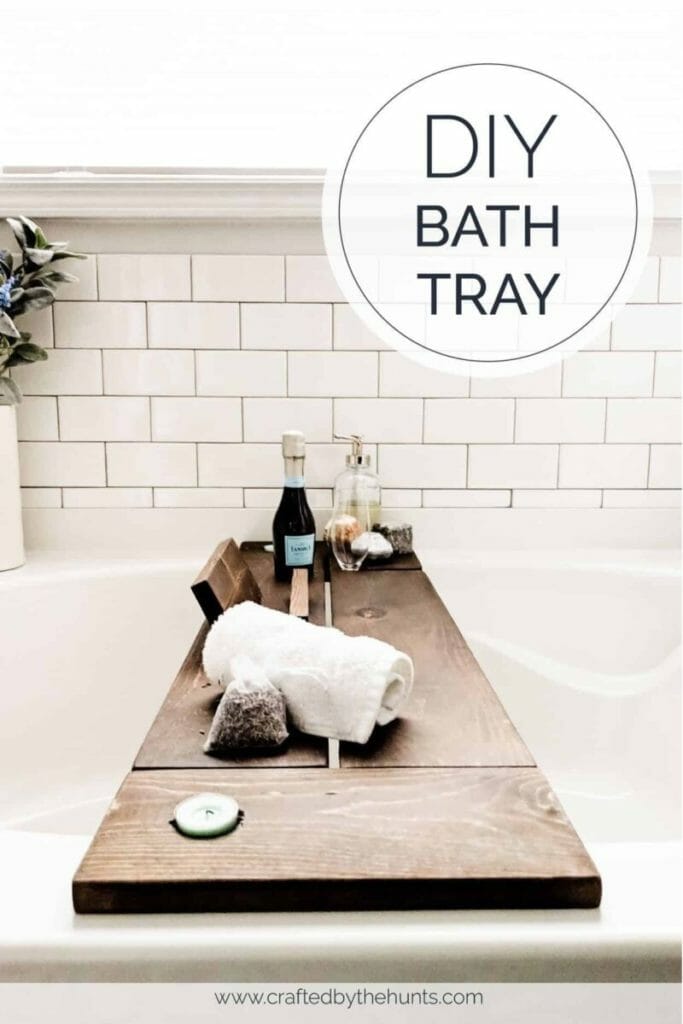
The Hunt Family provided our first DIY bath caddy design, which is a book lover’s fantasy. You may set your book on the pedestal that is part of the caddy (or your waterproof tablet). It also features a tiny countertop and a candle hole. The caddy includes a sanding slit just big enough for a wine glass stem rather than a cup-holder hole. That is ideal!
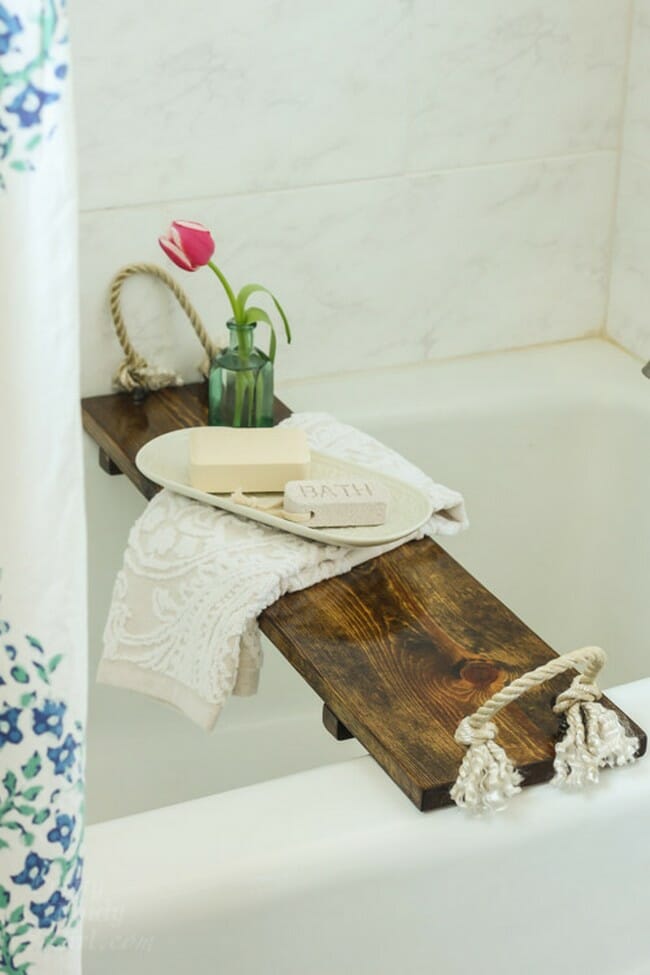
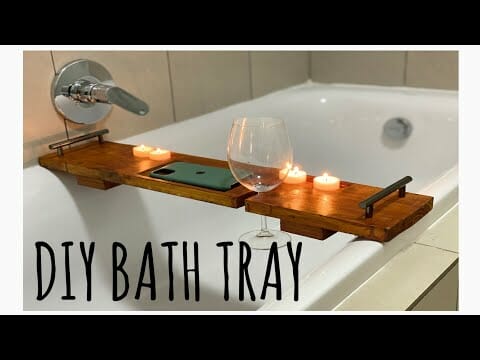
Wooden Bathtub Tray DIY
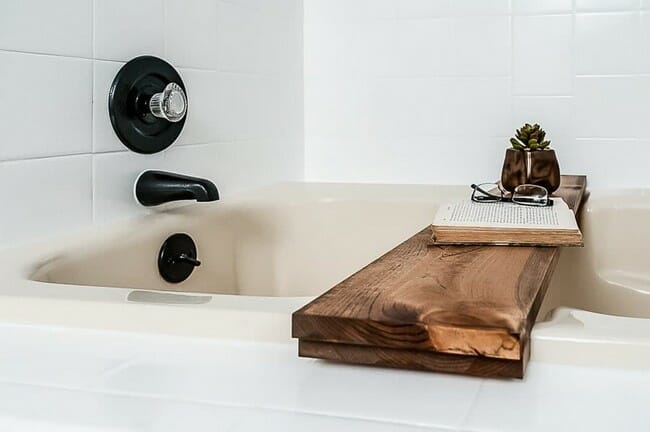
Not a fan of reading a book or using a tablet in the bathtub? Want to enjoy your bath more and spend less time attempting to hold things in your hands or keeping books on the tub’s edge? To make that simpler, invest in this straightforward, wooden bathtub tray!
Keep a tablet handy for reading, a candle nearby to establish the scene, or simply relax while listening to your favorite music on your phone. You won’t want to be without this bathtub addition, which has wooden feet to prevent it from sliding about.
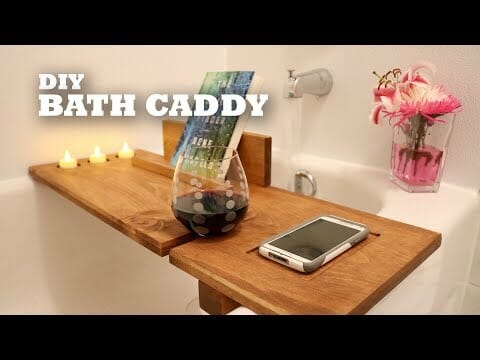
How To Make A Bath Caddy

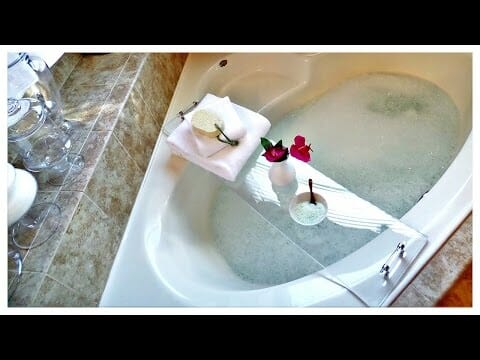
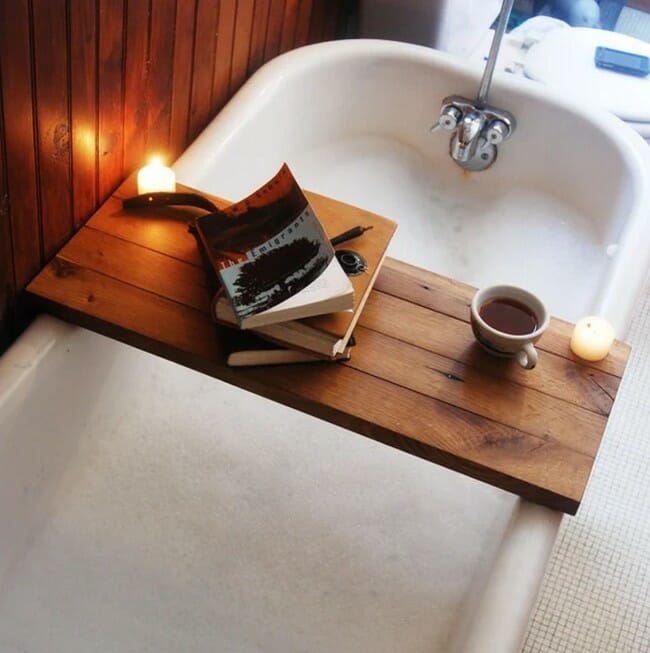
So, 1/8-inch pieces of leftover wood are used to make the bath caddy. Any scrapbook you have can be used. The bath caddy’s basic design consists of a tiny piece of scrap wood across the bathtub and smaller pieces for support at the bottom.
The bath caddy would have a few extras, such as a drink holder, book holder, and Twilight candle. Before building your bath caddy, you will require two measurements from the tub: the inner edge to the bottom portion and the outer edge to the other for the top piece.
Sarah’s DIY Bath Caddy
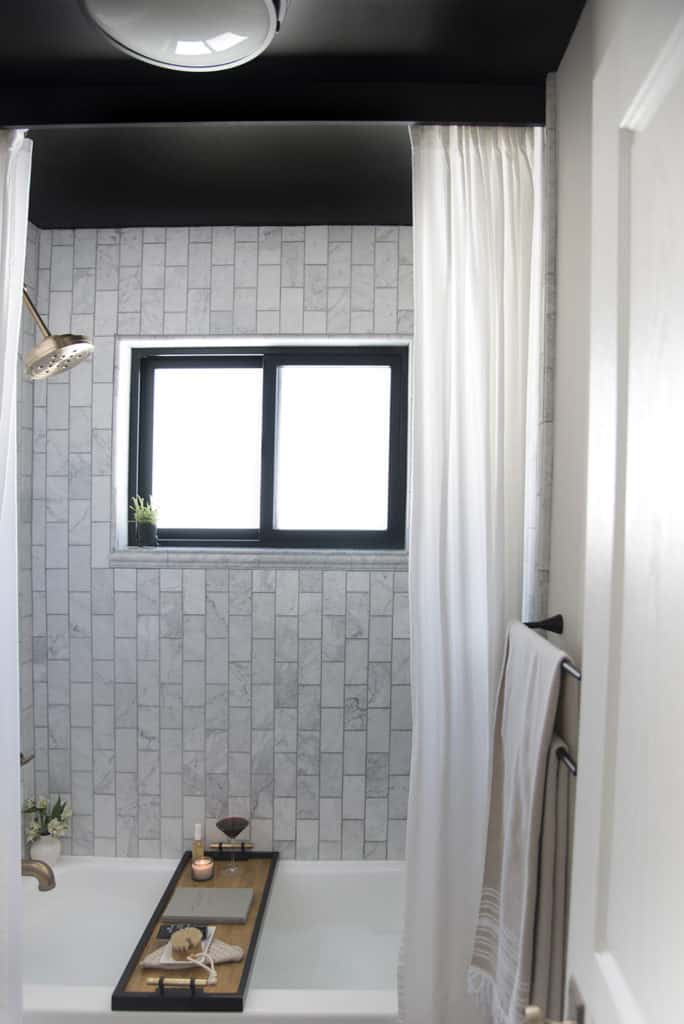
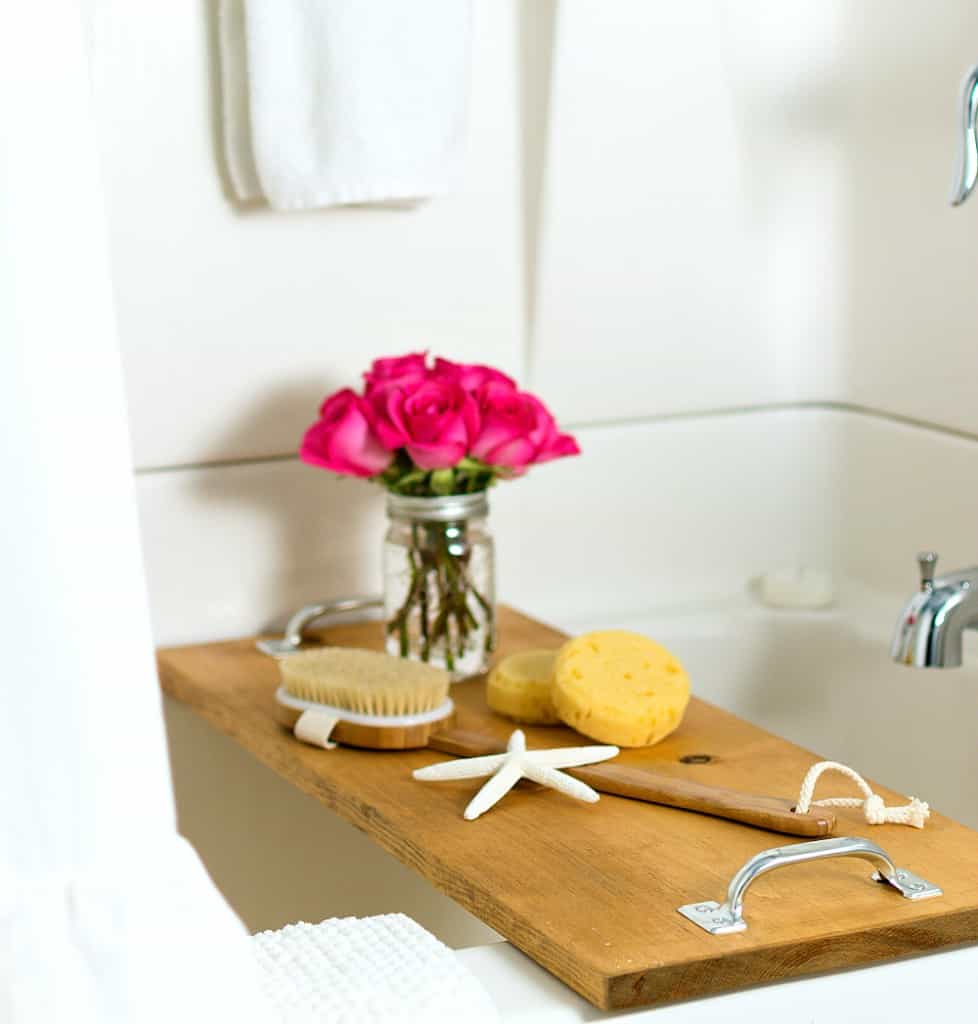
The simplest approach to build tea lights and cup holders is with cutouts. However, they are not your only choice. In order to contain your bathroom essentials, this DIY bath caddy has a tray design with a thin, flat bottom and raised edges. To contrast with the bare plywood base, the edges are black. The tray is equipped with sturdy brass handles for improved usefulness and aesthetics. Keep in mind to seal!
DIY Bathtub Caddy, 3 Different Ways

DIY meets interior design! We adore these three unique bathtub caddies made by a dedicated do-it-yourselfer. The project only cost $5, which is its finest feature. Additionally, it would look adorable as a small tray on the kitchen counter or sink. So inventive and adaptable!
The first involves concealing them behind a “over tank” shelf, however they might alternatively be hung from a hook or put on top of the tub. A reused plastic lid, a few screws, and curtain rings are the components of this bathtub caddy. There are three distinct design alternatives for this easy-to-make bathtub caddy, all of which are incredibly fashionable, simple, and affordable.
DIY Bathtub Tray
For this bathtub tray, you will need one long piece of wood and four short ones. The long piece will serve as the bathtub tray, the final two short pieces will serve as the iPad holder, and the remaining two shirt pieces will serve as the bracing that prevent the tray from falling into the tub. The process is quick and very simple. To get started, simply cut the wood into the appropriate sizes for each component, and you’ll be halfway there.
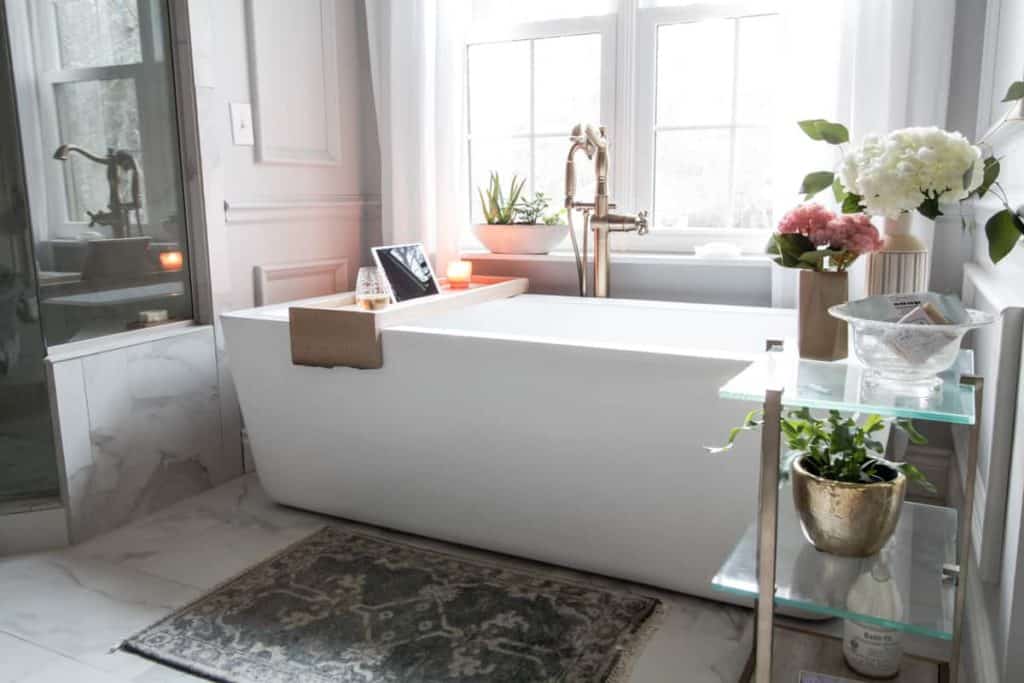
Clear Lucite DIY Bath Caddy
![]()
To take the chance of dropping your pricey laptop into the bathtub requires quite a bit of bravery. And that’s a much larger risk if your tablet or e-reader isn’t waterproof. So a wonderful approach to avoid this is to use a glass or plastic base for your bath tray. Use screwed-on handles and PVC window molding. Both can cut it and are conveniently available at the hardware store.
DIY Bath Tub Tray Tutorial
If you’re anything like me, you adore taking showers! They are incredibly calming and peaceful in my opinion. Of course, it’s even nicer if the lights are low and there are plenty of bubbles. However, there are instances when I find it difficult to unwind because I’m afraid of being interrupted. Solution? A DIY rustic wood bathtub tray is useful in this situation. On your tray, you can place a book and a glass of wine.
Or perhaps some tea and the iPad so you can unwind after a long day at work by binge-watching Netflix. There are countless options. Additionally, the fact that you may select any color stain for the wood finish adds to the pleasure of this do-it-yourself project. Let your imagination flourish!
Bathtub Tray DIY Build
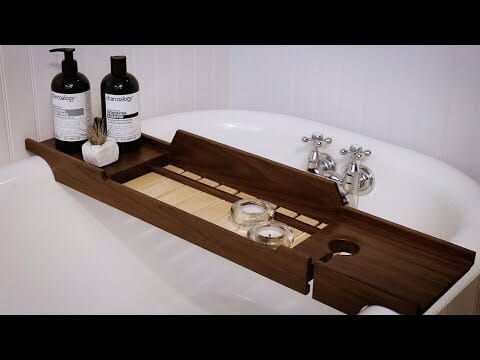
The width of the bathtub must be measured before you can begin to make a bathtub tray. After that, chop up your walnut wood. Take the walnut pieces to the jointer after cutting them so they are correctly squared. One of the components will be the rear panel of the tray after being squared and trimmed to length. Another piece was cut to serve as the tray’s front face. Then, take both pieces to the plainer and plain them to final thickness.
Handyverse Pallet-Board DIY Bath Caddy

Pallets are occasionally available for free in shipping yards or rubbish heaps. This uses recycled pallets, which lowers your costs. Make use of a countersink for the screws. It eliminates splinters, scratches, and corrosion by making the screws sit flush against the wood. In order to accommodate cups, this variant employs a cut-out for the base of your wine glass rather than the stem.
DIY Bathtub Tray Step-by-step
This inexpensive DIY bathtub tray may give a boho-chic bathroom that finishing touch! To create this shower tray, you’ll need a single power tool and a few simple supplies. Make it along with a pal! With the help of this creative DIY Bathtub Tray, you can turn your bathroom into a relaxing spa.
You can quickly create this charming, spotless-white bath tray to contain all of your bathtime necessities (bath bombs, fragrance sticks, milk bath beads, and whatever else floats your boat). By using this method, you can turn a regular tub tray into an oasis with just a few simple supplies and power equipment.
DIY Bath Caddy

This bath caddy looks stunning and reviving thanks to the rich espresso wood finish. If you don’t have any tools, get a piece of wood from the store and have it cut there. If you don’t have waste wood you can use for the bottom parts, preserve the cut-off portions as well. After receiving the wood, lightly sand it before applying the dark espresso wood stain on it. After letting it dry, secure the bottom piece.
Overhanging DIY Bath Caddy
Building a DIY bath caddy requires that it slightly overlap the bath’s lip. When your body moves or your legs move, this prevents it from slipping into the tub. The L-shaped DIY solution used here secures the overlap by having it “fold” over the bath’s outside. The tray feels solid and robust because of its raised edges and groove for holding your iPad.
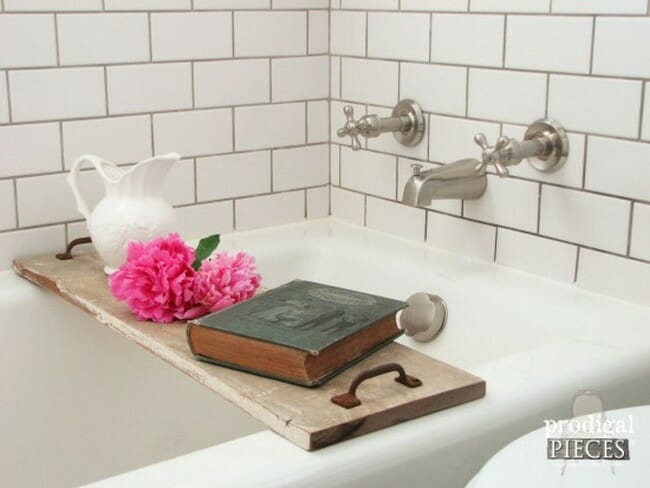
How To Make A Wood Bath Tray
A bathroom remodel isn’t inexpensive, but you can save money and add your own style to the space by following this simple guide. A simple wood bath tray that can be placed on the wall like a towel rack when not in use may absorb and distribute water while just requiring a few simple materials.
Three pieces of wood need only be cut, and you’ll have a wood tray to set beneath your bathroom necessities. The nicest aspect is that the handy bath tray isn’t hidden away in a cupboard or sitting on a closet shelf gathering dust when the homeowner wants to use it. Instead, it serves as an accessible towel rack that hangs on the wall.
DIY Bath Caddy Tray
While making a bath caddy is an easy and quick project, adding features and extras may take a lot of time. But marking the characteristics on the wood is a simpler approach to fill them in (tray). Once you have marked them, simply cut them out one at a time until you have finished them all.
Cottage Life DIY Bath Caddy
Here are five vital pointers for building a do-it-yourself bath caddy. In order to prevent moisture damage, seal the wood. Sand the holes, second. Three, attach the components together using both wood and screws. Four, sand every opening, edge, and cutout. To prevent snagging your skin, towel, or clothing, number five: pre-drill and countersink any screws or nails. If you’d like, you might apply a glossy top coat.
Easy DIY Bathtub Tray
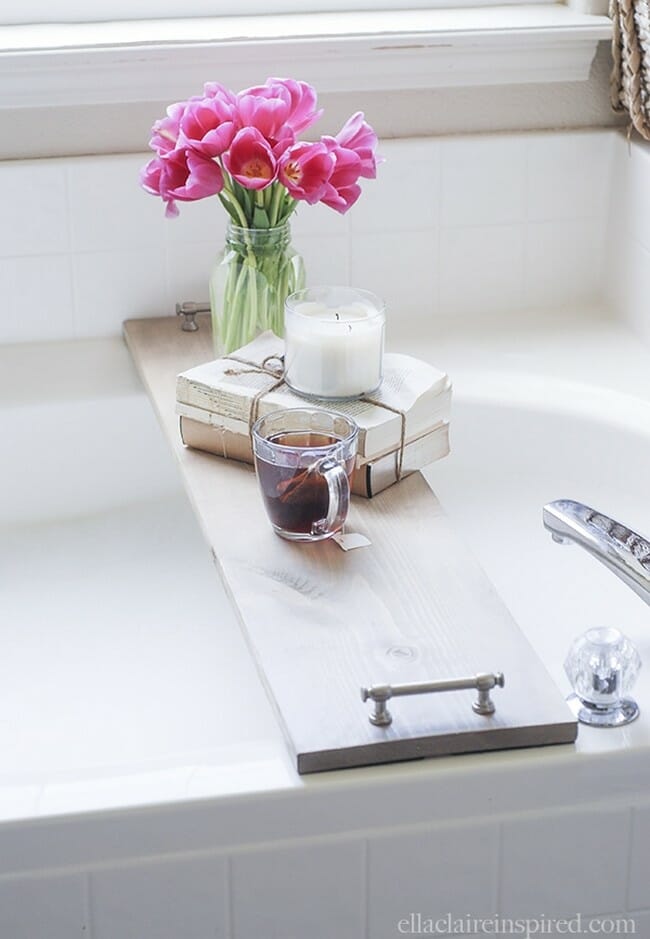
Bathtub trays are a brilliant way to unwind in the tub while keeping your beverage and book nearby. Today I have a quick and easy DIY fix for you. This tray is a wonderful Mother’s Day present since it can be customized to fit any bathtub, whether it be square or round, big or tiny.
This bathtub tray is simple to create and a wonderful present! Fill the jar with your preferred beverage while relaxing in the tub with a book. While taking a lengthy soak, a bathtub tray is the ideal place to set a water bottle or glass of wine. This project is quite easy to put together and involves very little cutting.
DIY Acrylic Bathtub Tray
Create a basic handle-equipped acrylic bathtub tray! To make this, measure the width of your bathtub and add an additional 112″ on either side to keep the tray from tumbling into the tub.
Vintage DIY Bath Caddy
You can locate antique retro cabinets if you take a stroll around the neighborhood junkyard. You only need a door with one or two knobs; you don’t need the entire thing. Additionally, it may be simpler to locate a broken door than a whole undamaged cabinet. The tray handle doubles as the cabinet handle. If necessary, add a second one that matches. For a sweet and straightforward bath tray, sand the wood and seal it.
Build Your Own Bathtub Shelf
Consider using a bathtub shelf if you need a place in your bathroom to store little goods. They are a stylish and useful choice that makes the most of a little area. Books, periodicals, candles, food, and beverages may all be stored on bathtub shelves.
They are useful for carrying a variety of items, including books, candles, food, and drinks, and they help keep things close at hand. Accessories for the bathroom might be adorable and practical, amusing and practical, or even highly humorous and practical. There is a fun method to make your house a pleasant place to be, whatever.
DIY Bathtub Tray No Tools Needed
Here’s how to create a bathtub tray without using any equipment. A piece of wood, wood stain, sandpaper, and wood glue are all you need. See how to assemble these materials to create own bathtub tray.
Mixed-Wood DIY Bath Caddy

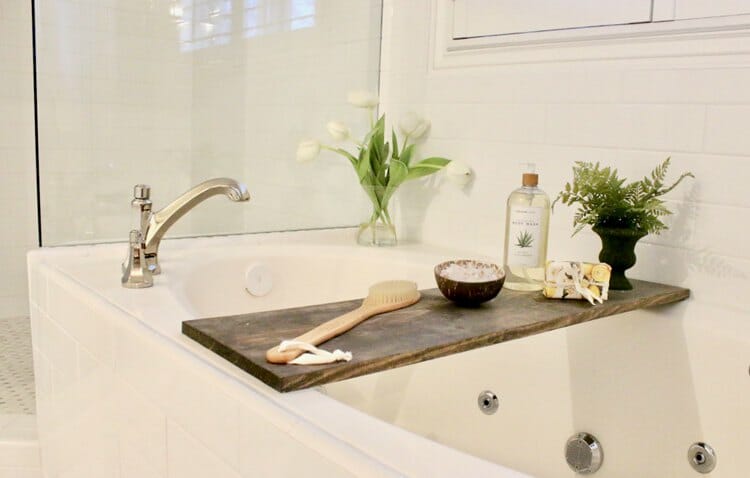
Using scrap wood laying around the yard, you can create a stunning DIY bath caddy. You could even carve wine holders from a log of driftwood. But for a more challenging job, combine walnut and holly to create a lovely two-tone bath tray. Apply many applications of Waterlox or another comparable polyurethane sealer to the wood. Water and steam are prevented by this.
DIY Bathtub Tray

I needed a stunning DIY bath tray to match my bathroom, which had a view of my pool. However, store-bought trays were expensive and had limited customization options. Therefore, we made this wooden bathtub tray in a matter of hours; you may do the same.
I decided to make one myself, but it had to be made of wood since I detest plastic and similar materials and because wood is healthier for the environment. By taking a few easy steps, you can build one as well.
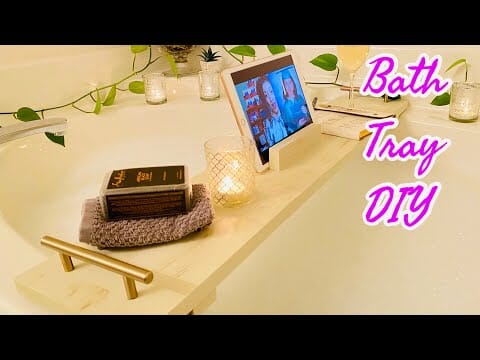
Easy BathTub Tray DIY

See here for a really simple DIY phone holder and bathtub tray for an iPad. A backrest for the phone or iPad is sufficient, and everything else may gently rest on the tray. It is quite basic and doesn’t need to have all the bells and whistles.
Nick’s DIY Bath Table
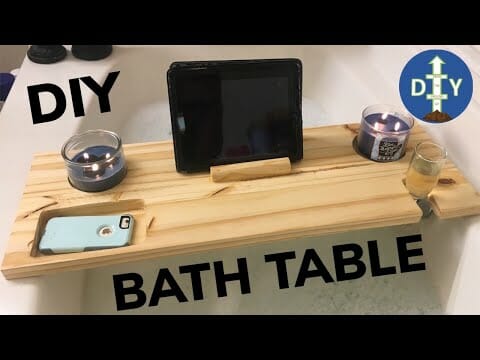
Slots in bath caddies are often used for books, tablets, cocktail glasses, tea lights, and occasionally bath items. However, this one also has a shallow slow for your phone, making it a useful addition. Always carefully sand any cut-outs or edges to eliminate any possible splinters. DIY bath trays are not painted, but rather sealed, as paint might pucker.
